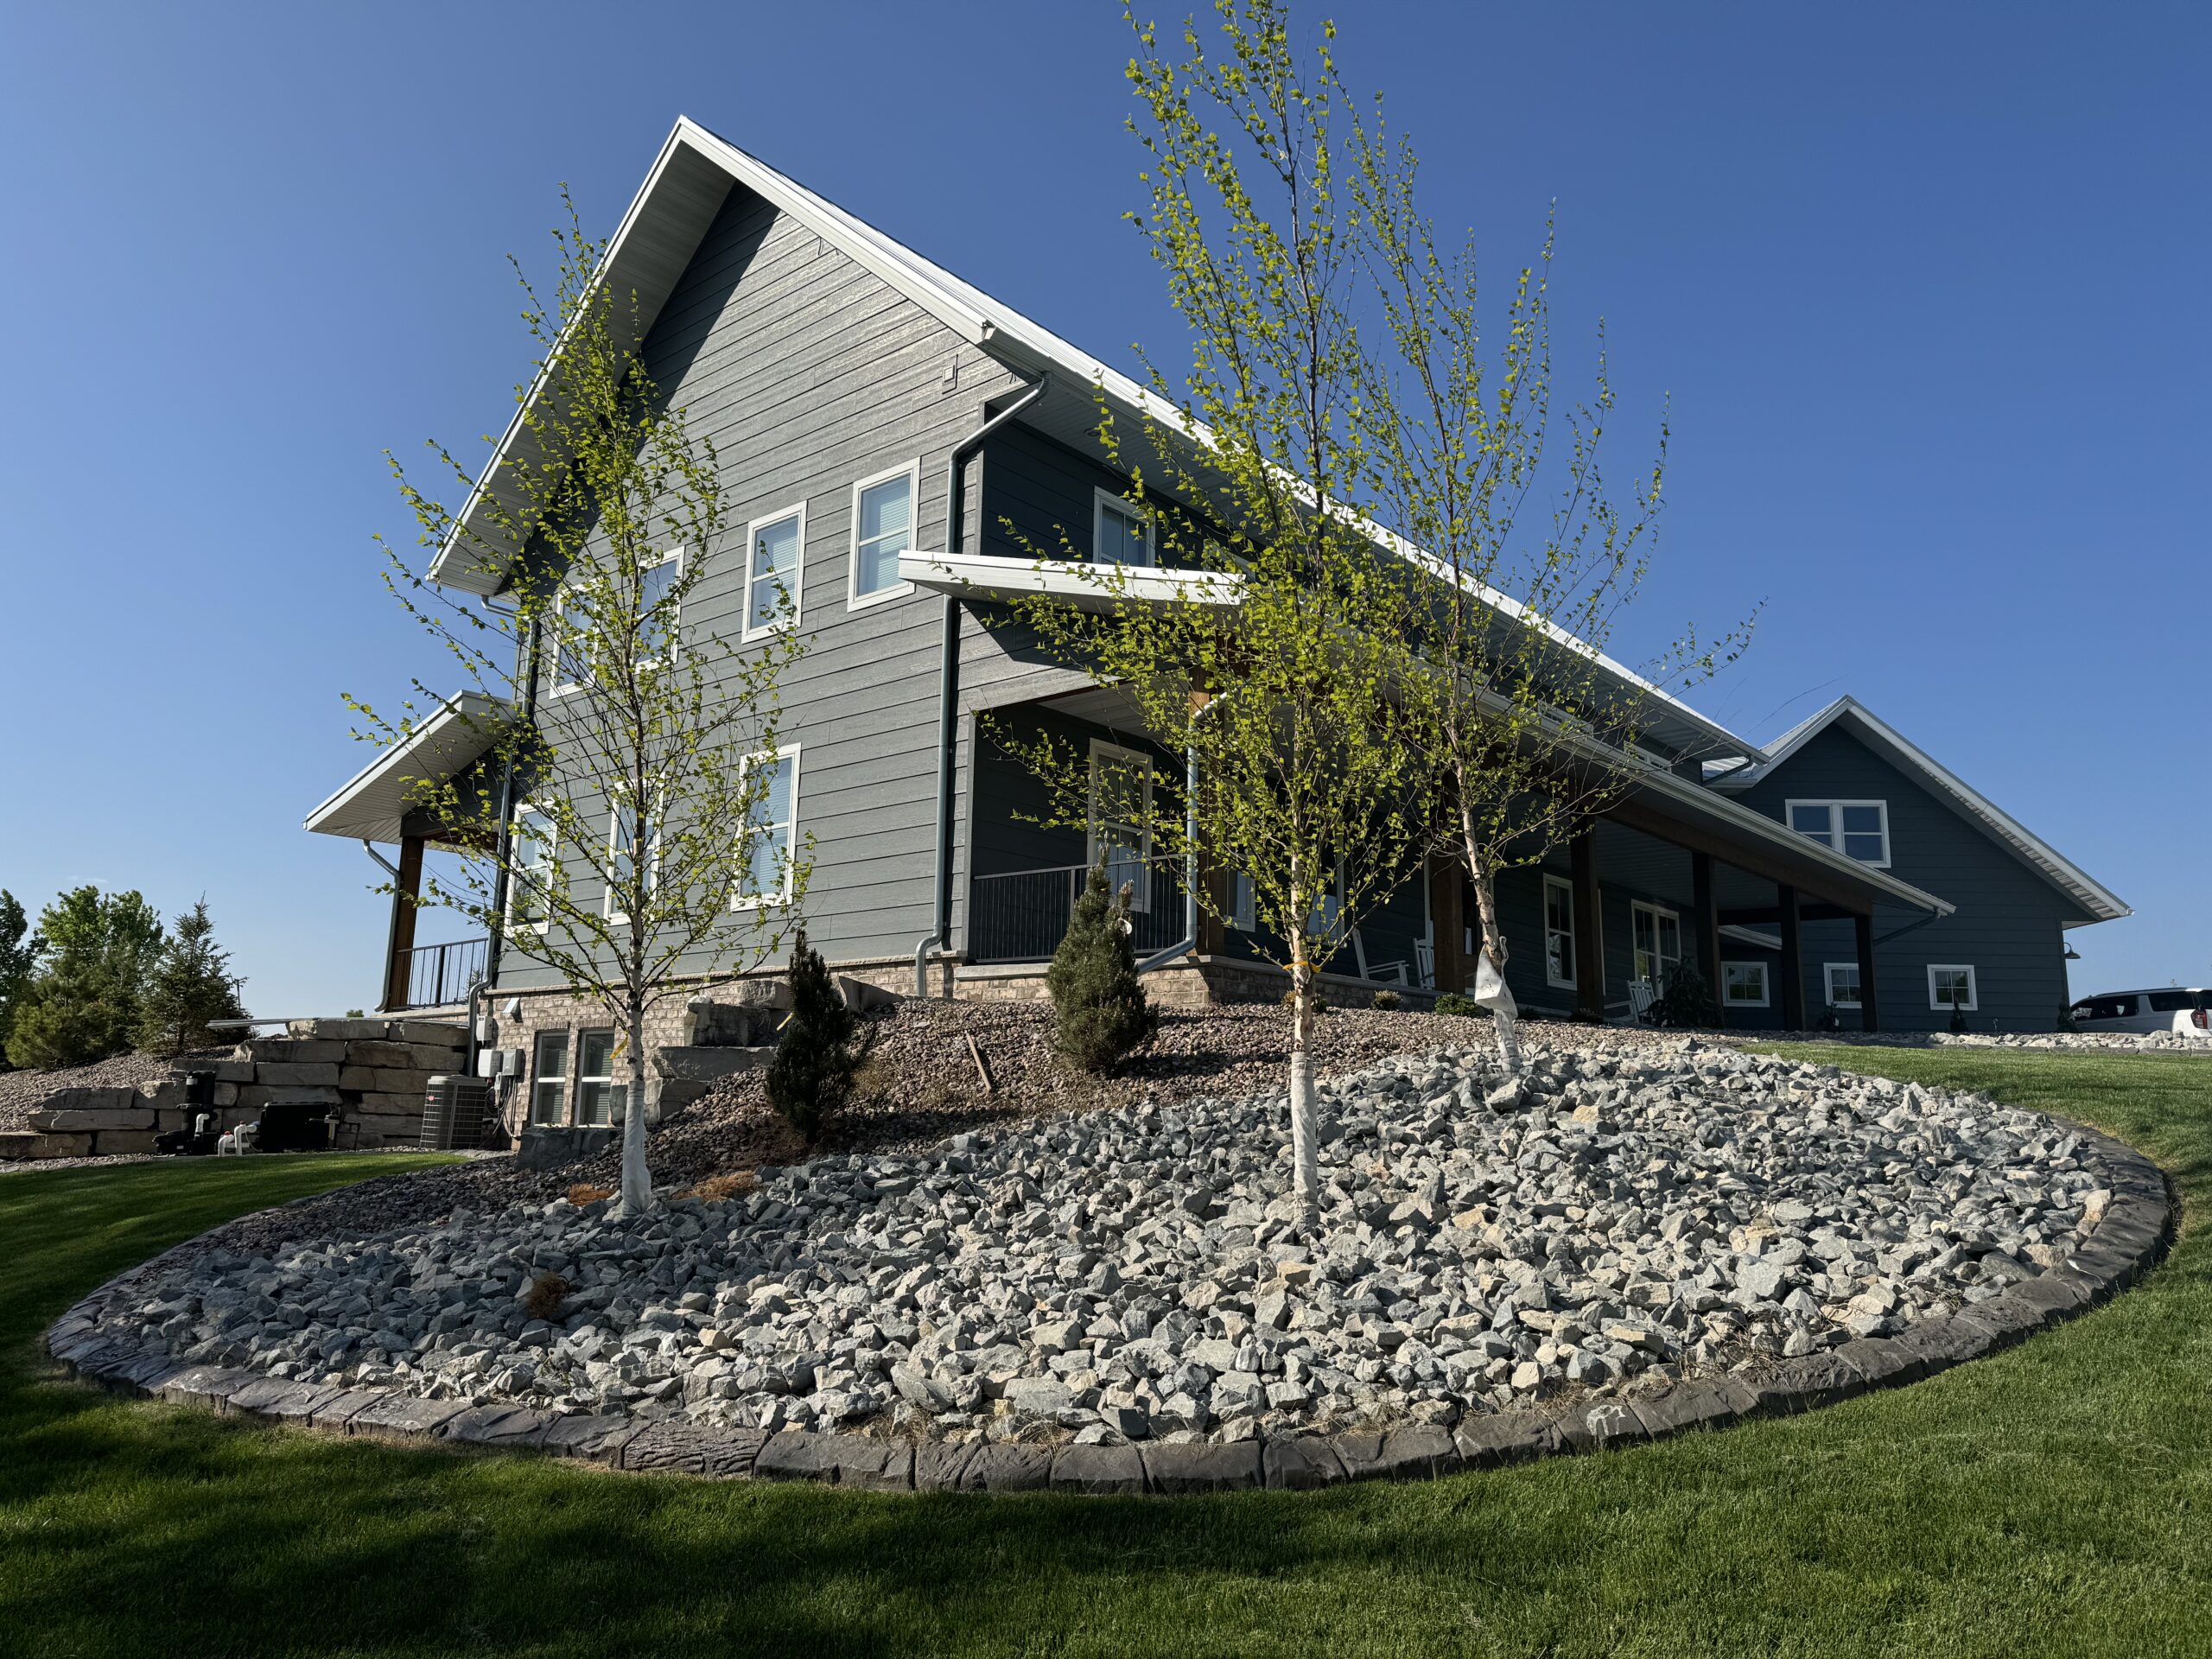
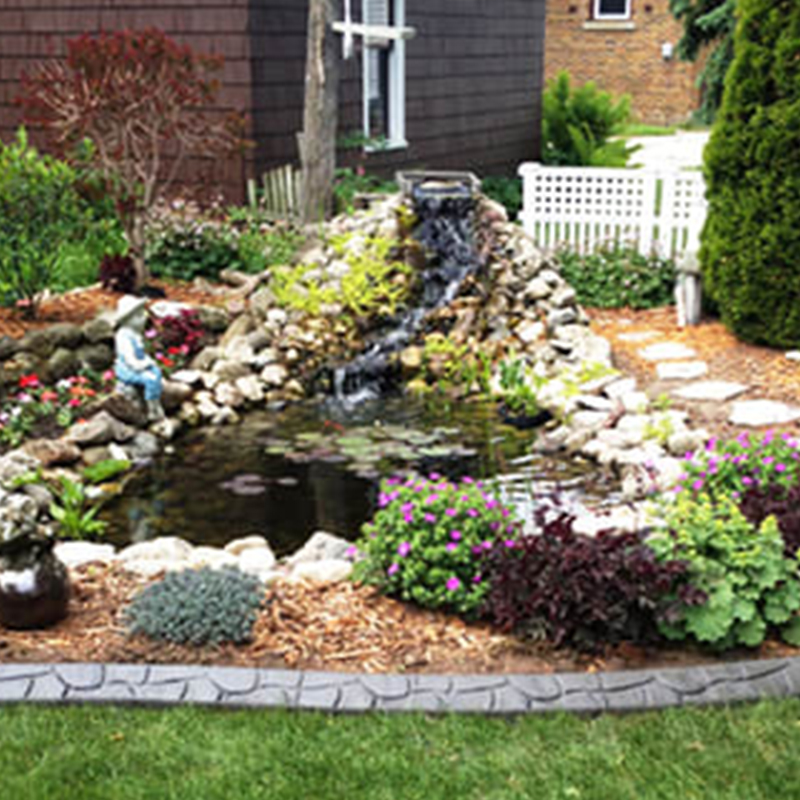
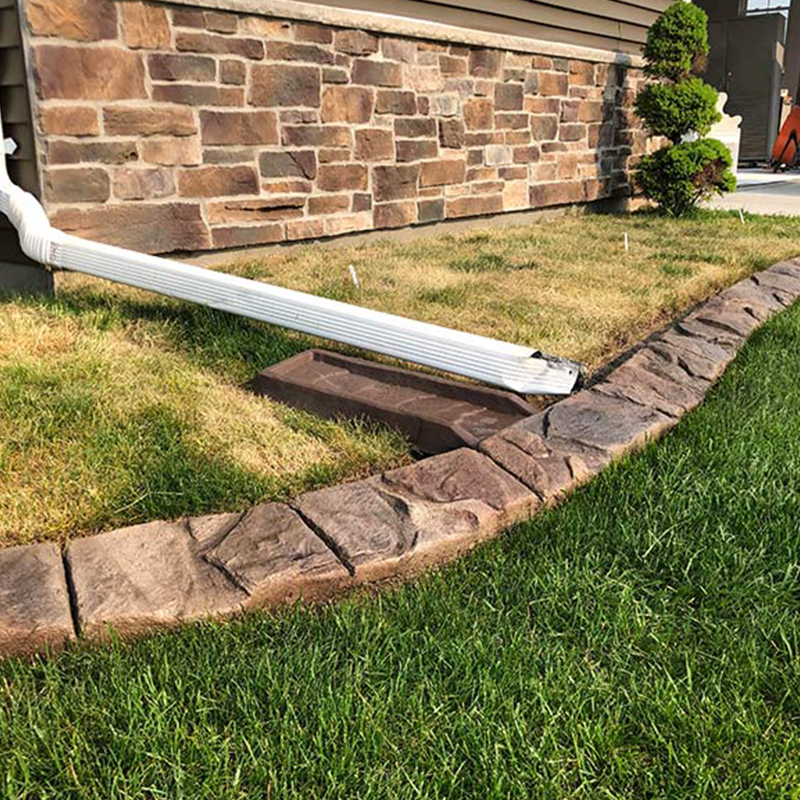
Concrete curbing is a fantastic way to enhance the aesthetic appeal and functionality of any landscape. Whether you’re looking to define garden beds, create elegant walkways, or simply add a polished finish to your property, concrete curbing offers durability and versatility that other edging options can’t match.
At Curb Depot, we understand the intricacies of creating beautiful and long-lasting concrete curbs, and we’re here to guide you through the process. This step-by-step guide will walk you through everything you need to know to achieve professional-looking results.
Essential Tools and Materials
Here’s a list of what you’ll typically need:
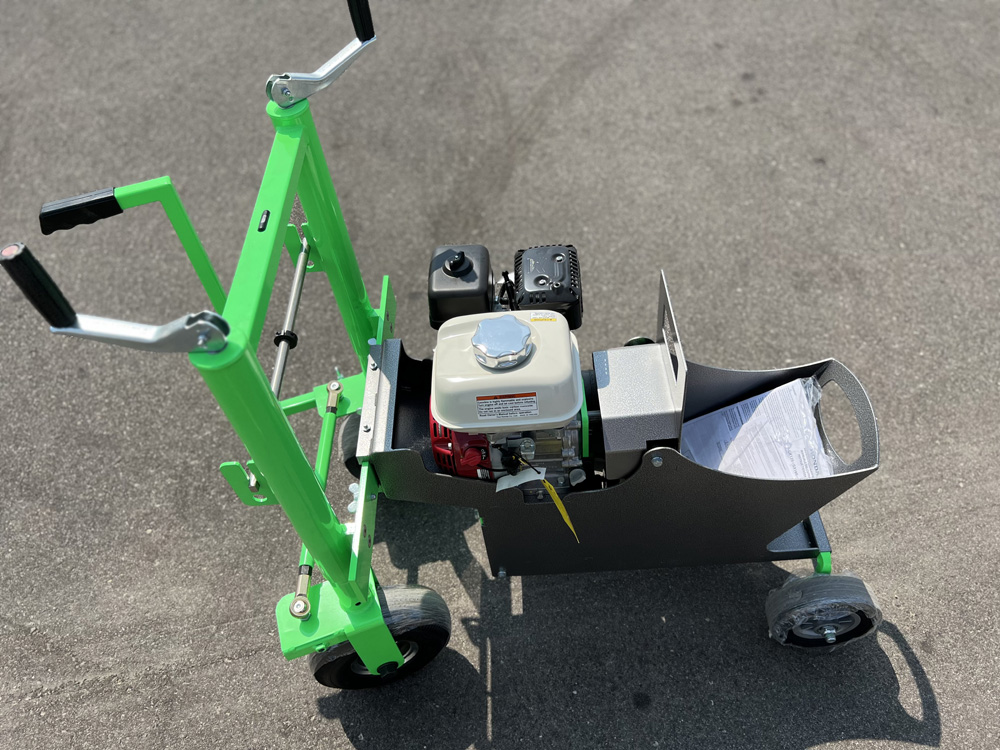
- Curbing Machine: The heart of your operation. Our Harpten Curbing Machine, for instance, is engineered for smooth operation and consistent results, making it easier to create beautiful curbing the first time around.
- Concrete Mixer: A reliable mixer like the ones we offer is crucial for preparing the perfect concrete consistency.
- Ground Prep Tools: Shovels, rakes, and a sod cutter are essential for trench preparation.
- Stamps and Trowels: For decorative finishes and a smooth curb.
- Coloring and Sealers: To enhance the curb’s appearance and protect it from the elements. Our Assurance Admixture also helps create a stronger curb that isn’t prone to cracking.
- Measuring Tools: Tape measure, string line, and stakes for accurate layout.
- Safety Gear: Gloves, safety glasses, and appropriate footwear are a must.
Step-by-Step Guide To Concrete Curbing
Step 1: Planning and Layout
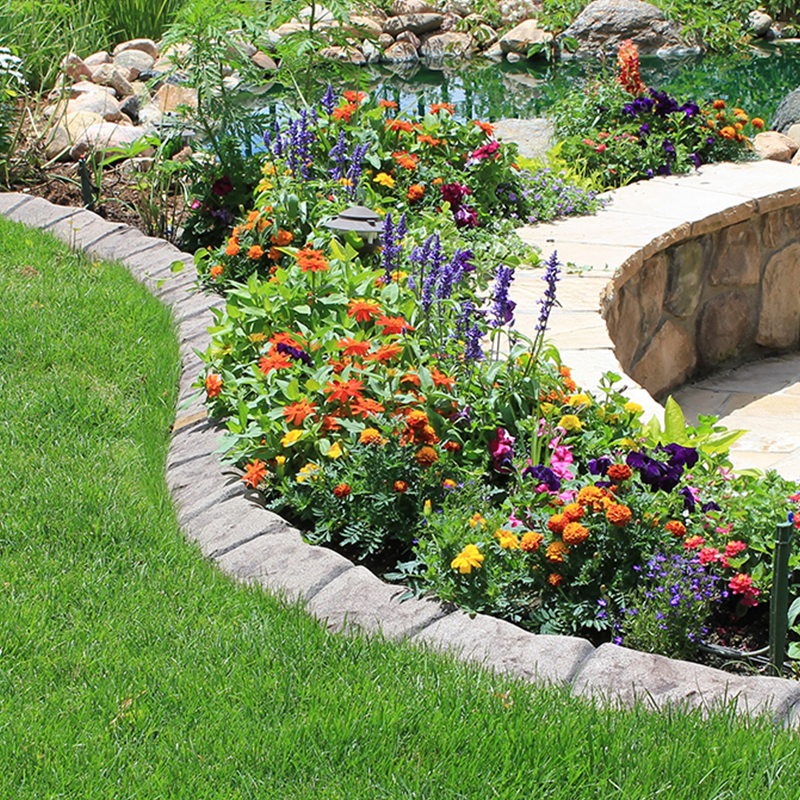
Begin by sketching your desired curb path. Consider the flow of your landscape, existing features, and drainage. Once you have a plan, use stakes and a string line to mark the exact path of your curb. Ensure the lines are smooth and follow the contours you envision. This is also the stage where you decide on the curb style.
Step 2: Ground Preparation
Remove any existing grass, weeds, or debris along the marked path. Dig a shallow trench, typically around 4 to 6 inches deep and 6 to 8 inches wide, ensuring the base is firm and level.
The trench should be slightly wider than your chosen curb profile to allow for proper machine operation and concrete flow. Compact the soil at the bottom of the trench to create a stable foundation.
Step 3: Mixing the Concrete
The right concrete mix is vital for a strong and workable curb. We recommend a mix designed specifically for curbing, typically a drier, low-slump consistency. This allows the curb to hold its shape immediately after extrusion.
Follow the manufacturer’s instructions for your concrete mixer and admixture to achieve the optimal consistency. The mix should be firm enough to hold its shape immediately after extrusion but wet enough to flow smoothly through the curbing machine.
Step 4: Laying the Curb
Load the mixed concrete into the hopper of your curbing machine. With steady hands and a consistent pace, guide the machine along your marked path. The machine will extrude the concrete into the desired curb profile.
It’s crucial to maintain a smooth, continuous motion to avoid breaks or uneven sections. For longer runs, work in manageable sections, ensuring seamless transitions between batches of concrete.
Step 5: Finishing and Detailing
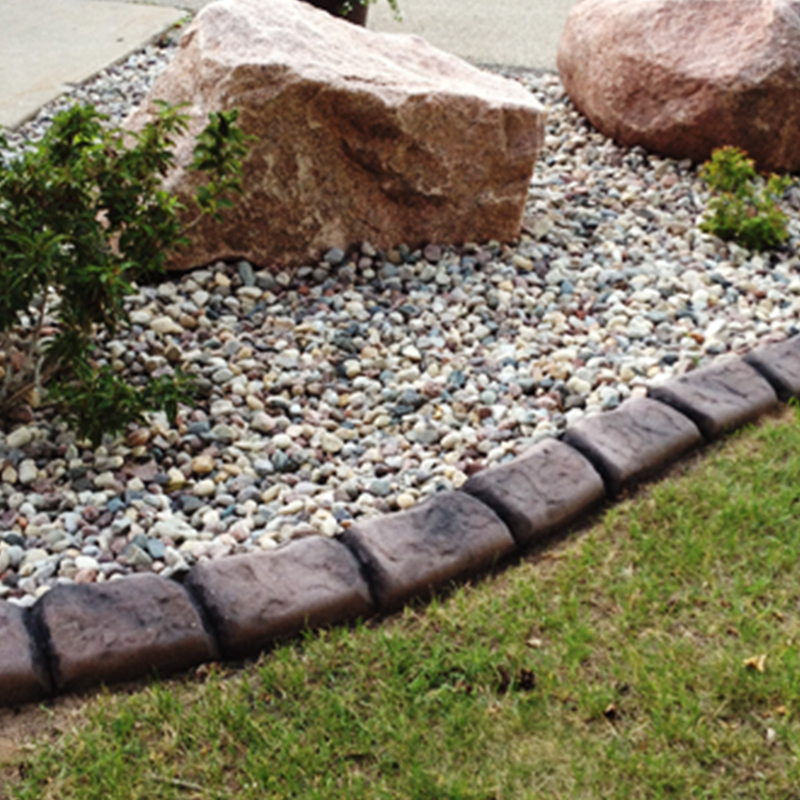
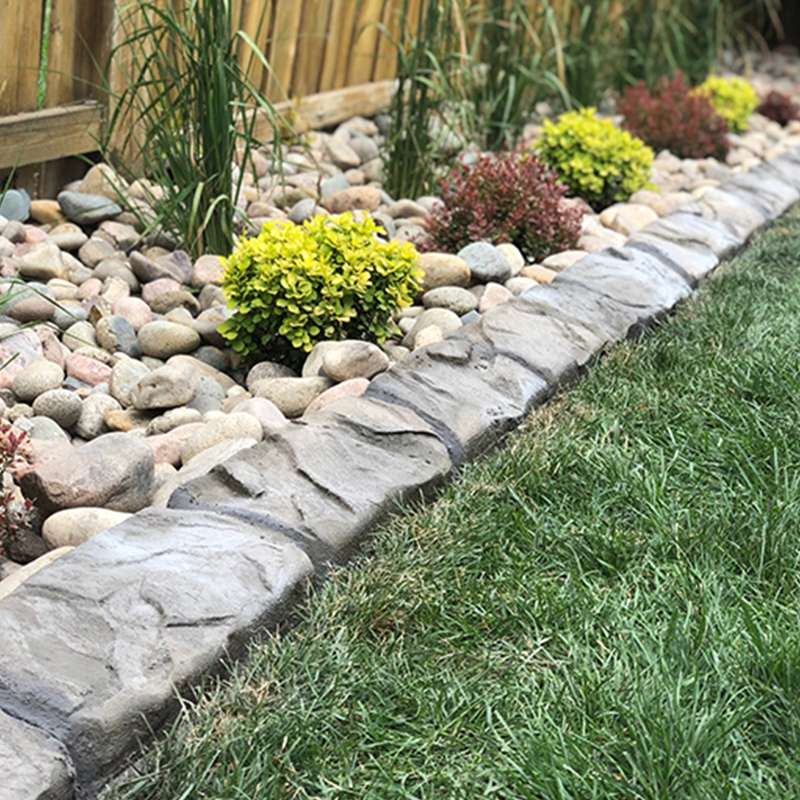
Once the concrete is laid, use specialized trowels to smooth the surface of the curb and refine its shape. This is also the time to apply any decorative stamps or textures.
Press the stamps firmly and evenly into the wet concrete to create your desired pattern. For a truly professional look, ensure all edges are clean and sharp. If you’re incorporating coloring, it can be mixed into the concrete or applied as a topical treatment during this stage.
Step 6: Curing and Sealing
Keep the concrete moist for at least 3 to 7 days by lightly misting it with water or covering it with plastic sheeting. This slows down the drying process, preventing cracks and increasing the curb’s overall strength.
Once the curb has fully cured and reached its design strength, typically around 28 days, apply a high-quality concrete sealer. Sealing protects the curb from stains, UV damage, and harsh weather conditions, ensuring its beauty and integrity for years to come.
Quality Results Start With Quality Equipment
By following these steps and using quality equipment and materials from Curb Depot, you can achieve professional results that stand the test of time. Whether you’re enhancing your own property or building a thriving curbing business, we’re here to support your success every step of the way.
Explore our full range of curbing equipment and tools to get started on your next project today!
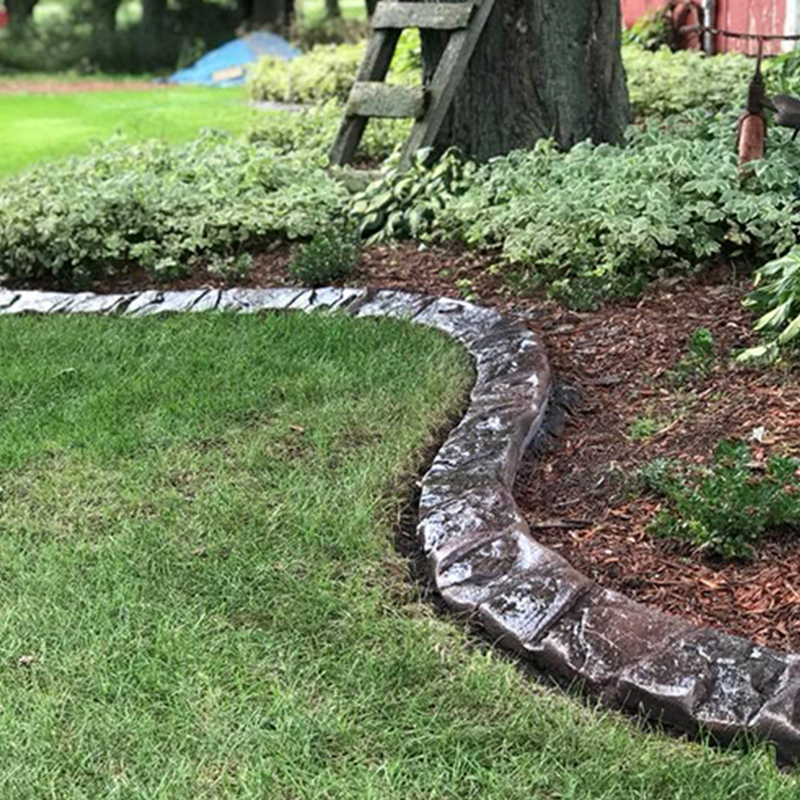
Earn More With Natural Stone.

Click to Register
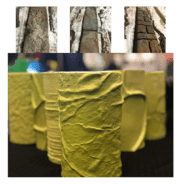
Create beautiful curb with unique stamps.
Looking to sell your equipment?
Let us help.


Ready to Order Your New Curbing Trailer? Request More Info.
Give us a call at (920) 740-2218 or simply fill out the form below to learn more about getting all the tools and training to get started. We make the process easy to start earning money in landscape curbing.