Curb Depot has spent three decades watching first-year operators repeat the same five errors. Those mistakes account for nearly every warranty call a new curbing business fields in its first season. Understanding what goes wrong and why puts you ahead of contractors who learn the hard way, one angry homeowner at a time. This guide breaks down the five most common installation mistakes, explains the root cause behind each one, and gives you the fix so you can deliver clean, durable curbing from day one.
Skipping or Rushing Ground Preparation
Ground prep is the foundation of every curbing job, yet it is the step most new contractors cut short. A bed edger or sod cutter should remove grass and organic material down to clean soil, and the trench should be compacted before the extruder touches the ground. When this step is incomplete, the curb sits on loose, uneven material that shifts with moisture and settling.
What Happens When the Base Fails
- Sections sink unevenly within the first freeze-thaw cycle
- Gaps open between the curb and the lawn or garden bed
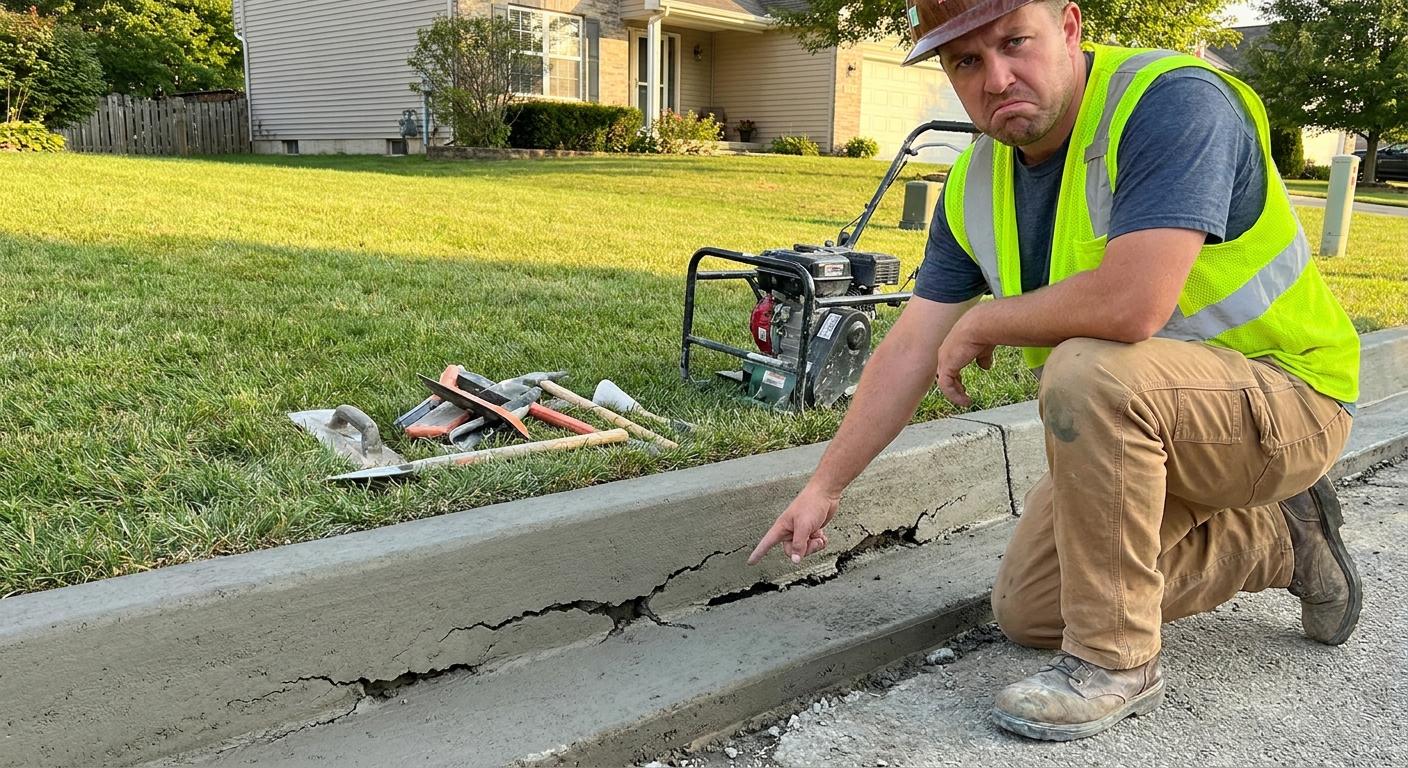
- Cracks form at high spots where the curb bridges unsupported ground
The Fix
Run your bed edger along the full path at a consistent depth of two to three inches. Compact the trench with a hand tamper or plate compactor. Walk the entire line before extruding and correct any soft spots. This adds ten to fifteen minutes per job, but eliminates the most common reason for callbacks. Curb Depot’s ground prep machines are specifically sized for curbing trench work.
Getting the Concrete Mix Wrong
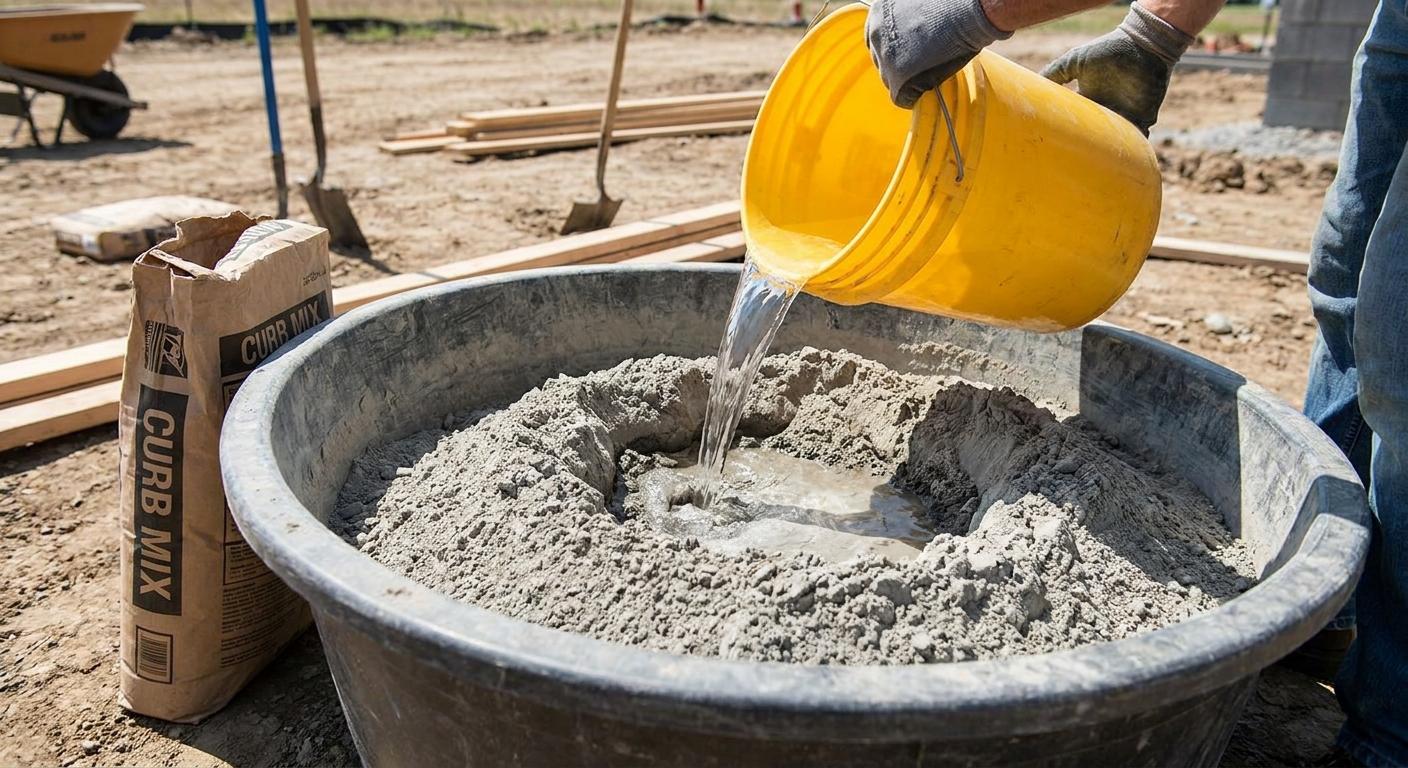
Concrete that is too wet slumps out of the mold and loses its profile within seconds. Concrete that is too dry jams the extruder, tears at the surface, and produces visible voids. Both extremes lead to curbing that looks rough on day one and cracks within the first year. The ideal consistency should hold its shape when squeezed in your hand without dripping water or crumbling apart.
Common Mix Mistakes
- Adding water by the bucket instead of measuring with a gauge
- Mixing for too short a time and leaving dry pockets in the batch
- Ignoring ambient temperature, which changes how fast the mix sets
- Skipping admixture that improves workability and reduces shrinkage cracking
The Fix
Use a consistent water-to-cement ratio for every batch and adjust by small amounts based on conditions. Add Assurance Curbing Admixture to each batch to improve flow, reduce cracking, and buy yourself more working time in hot weather. Mix for at least three full minutes and check the consistency before loading the hopper.
Poor Extruder Speed and Pressure Control
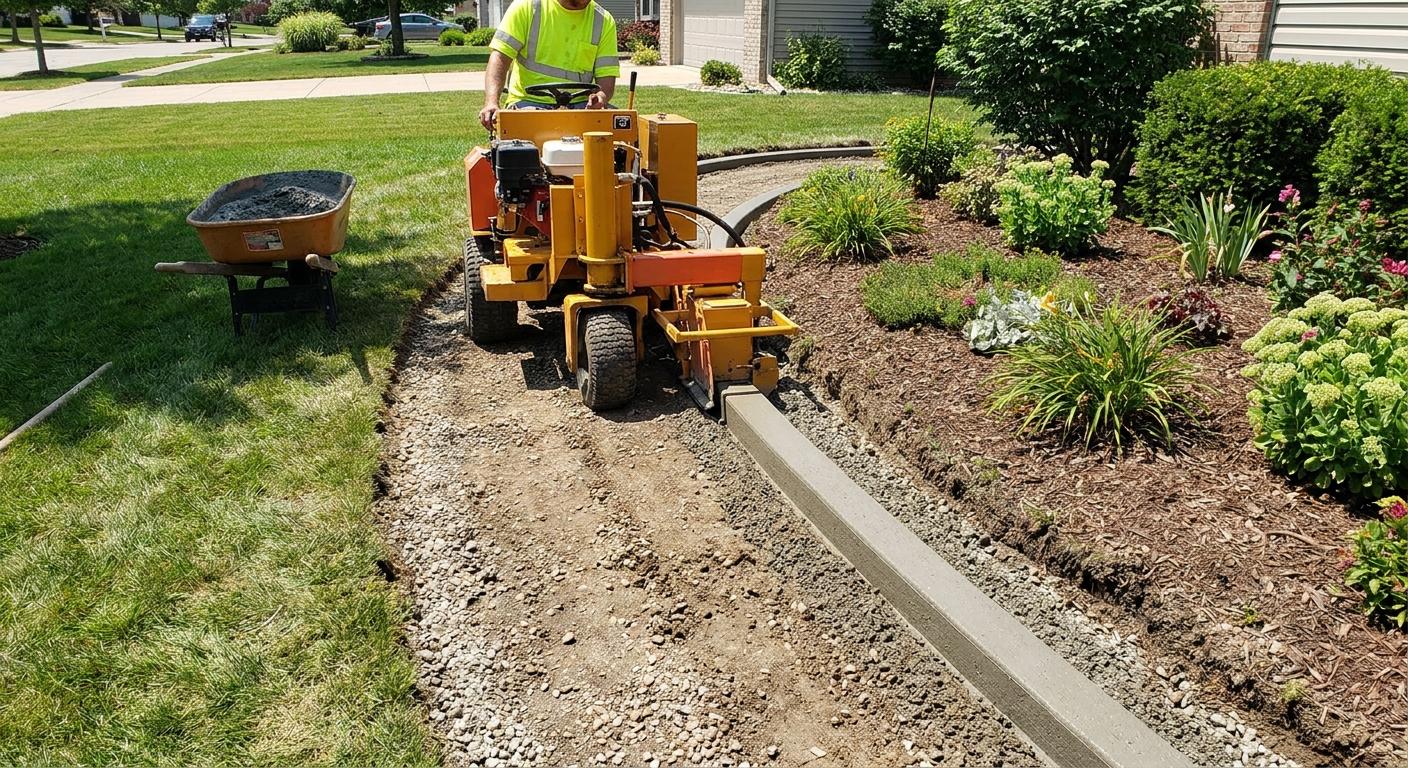
Walking the machine too fast starves the mold of material and creates thin, weak sections. Walking too slowly overpacks the mold and produces a curb that bulges and cracks as it cures. Inconsistent speed shows up as a wavy, uneven profile that no amount of trowel work can fully correct.
Signs of Speed and Pressure Problems
- Visible thin spots or voids along the curb face
- Bulging sections that widen past the mold profile
- Wavy cable reinforcement caused by uneven feed
- Surface tearing where the mold dragged on dry material
The Fix
Match your walking pace to the machine’s output rate and keep it steady through curves and straight runs. The Harpten’s belt tensioner lets you adjust compaction mid-job when ground conditions change, so use it rather than speeding up or slowing down. Practice on a test run at the start of each day until the pace becomes second nature.
Neglecting Finishing and Expansion Joints
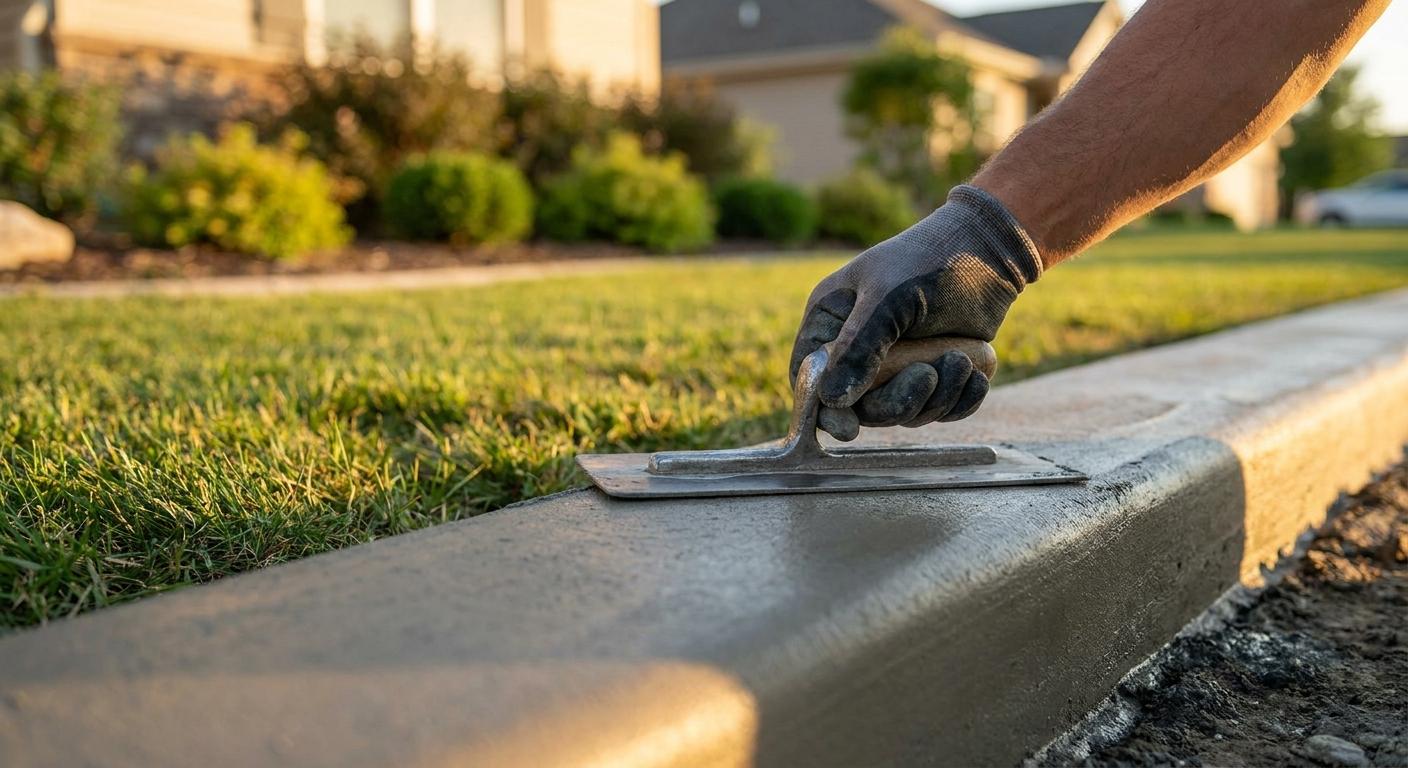
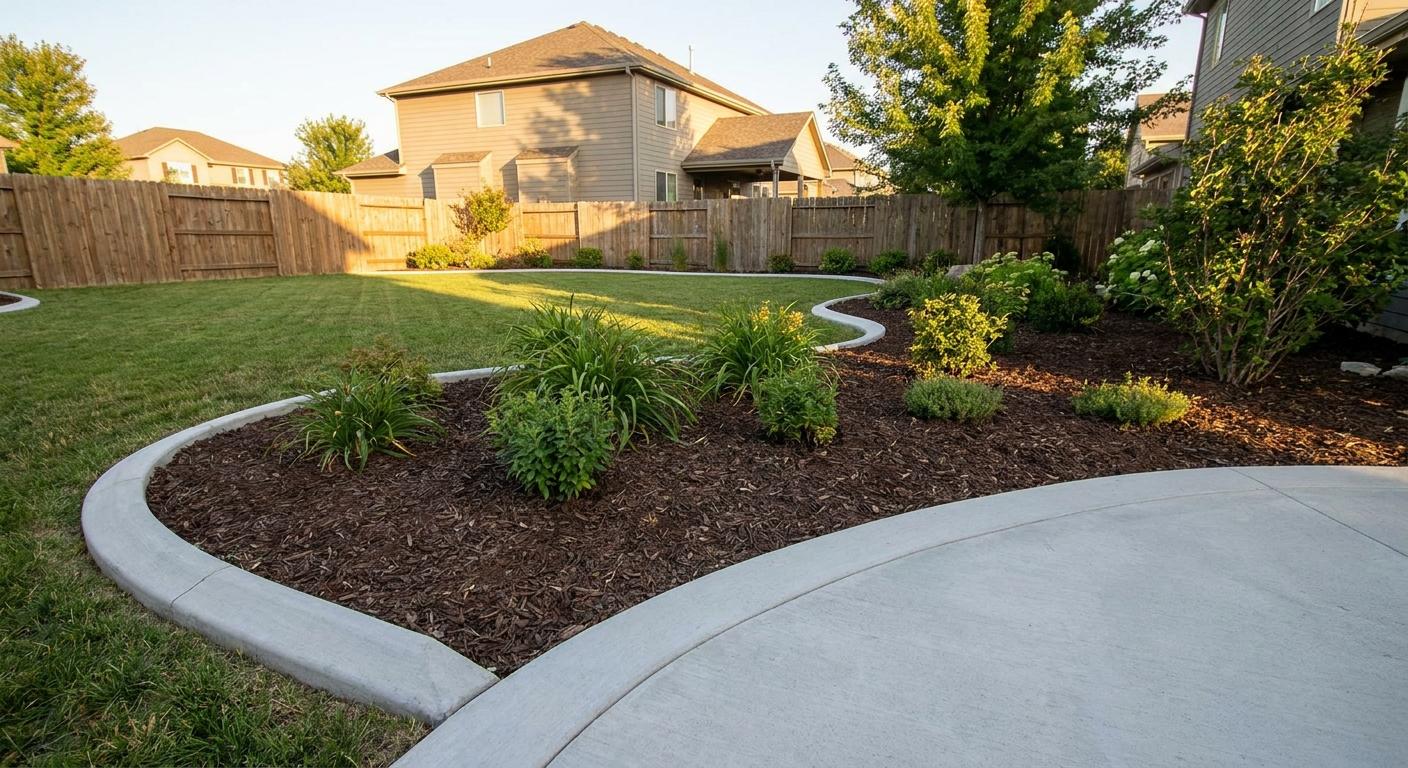
Stamping and troweling aren’t cosmetic extras. Proper finishing compresses the surface, closes micro-voids, and creates the texture that customers pay a premium for. Skipping or rushing this step produces curbing that looks unfinished and develops surface spalling within one season.
Expansion joints are equally critical. Concrete expands and contracts as temperatures change. Without relief points, that movement leads to random cracking. The industry standard is a joint placed every four feet.
Where New Contractors Cut Corners
- Stamping once instead of pressing firmly enough to set the pattern
- Forgetting the release agent, which causes stamps to stick and tear the surface
- Spacing expansion joints too far apart or skipping them on short runs
- Rushing the trowel pass before the surface has become firm enough to hold detail
The Fix
- Apply the release agent before every stamp impression.
- Press stamps firmly and consistently to achieve the full pattern depth.
- Cut expansion joints every four feet using a flat trowel or jointing tool.
- If you offer natural stone finishes, the technique requires dedicated natural stone training to get the grout lines and texture right.
- Lock in your work with a high-quality sealer. Properly sealing the finished curb provides the ultimate defense against moisture, stains, and UV damage.
Skipping the Curing Window
Fresh curbing needs time to cure before it can handle foot traffic, mower contact, or irrigation spray. New contractors often leave the job site without communicating the proper cure times to the homeowner, and the curbing gets damaged before it reaches full strength. The result is surface chips, edge breaks, and an unhappy customer who blames the contractor.
Curing Mistakes That Cause Damage
- Allowing sprinklers to hit fresh curbing within the first 24 hours
- Not leaving a care sheet that explains the curing timeline
- Failing to mark the curb so lawn crews know to avoid it
- Installing in extreme heat without misting or shade to slow moisture loss
The Fix
Hand your customer a printed care sheet at the end of every job. Recommend keeping water off the curbing for at least 24 hours and avoiding heavy contact for 72 hours. In hot weather, a light mist during the first few hours slows evaporation and reduces cracking due to shrinkage. When proper curing is observed, concrete curbing can last 20 years or more.
Frequently Asked Questions
What is the most common curbing installation mistake?
The most common curbing installation mistake is inadequate ground preparation before extruding. Loose, uncompacted soil under the curb leads to settling, cracking, and separation within the first year. Removing organic material, trenching to the correct depth, and compacting the base eliminates the majority of first-season callbacks.
How do you prevent concrete curbing from cracking?
You can prevent concrete curbing from cracking by controlling the mix consistency, cutting expansion joints every four feet, and allowing proper cure time. Adding a curbing admixture to each batch reduces shrinkage, and sealing the finished curb protects against moisture intrusion and freeze-thaw damage.
Do you need training to install landscape curbing?
Training is not legally required in most states, but it is the fastest way to avoid costly mistakes and callbacks. A structured program like Curb Depot’s Curbing 101 training covers equipment operation, mix ratios, finishing techniques, and business fundamentals in a hands-on format that shortens the learning curve from months to days.
Don’t Learn the Hard Way: Partner with Curb Depot
The five mistakes in this guide are responsible for the majority of callbacks, negative reviews, and lost repeat business that new curbing contractors experience. None of them are difficult to fix once you know what to watch for. All of them are covered in Curb Depot’s training programs so you know what to do and what to avoid before you ever take on a paying customer. The difference between a first-year contractor who struggles and one who builds a pipeline of referrals from day one is usually preparation.
Ready to start your curbing business with the right foundation? Contact Curb Depot or call (920) 740-2218 to learn about training programs, equipment packages, and ongoing support built for contractors who want to get it right the first time.
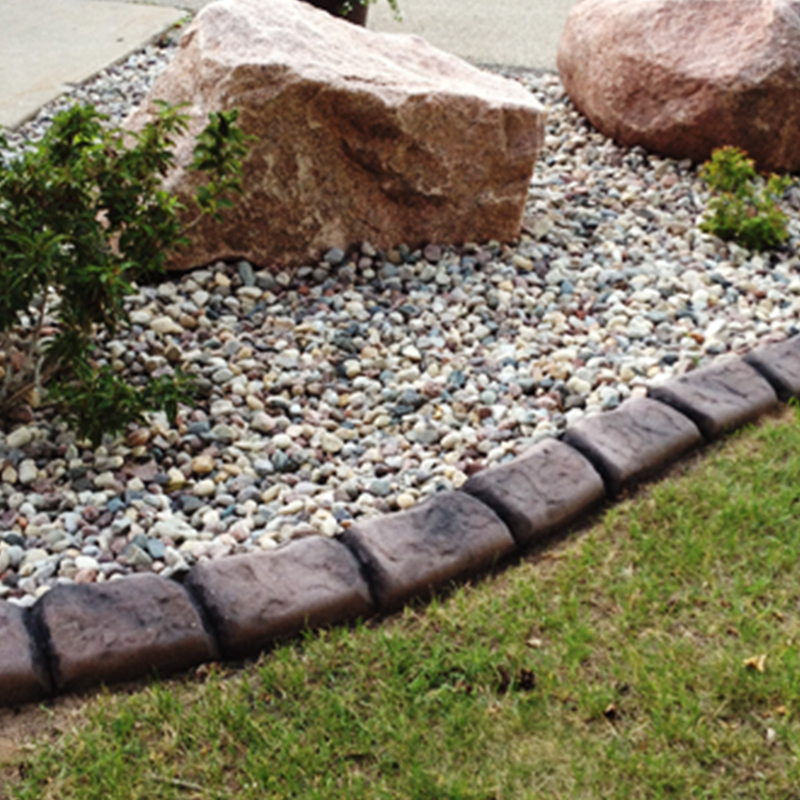
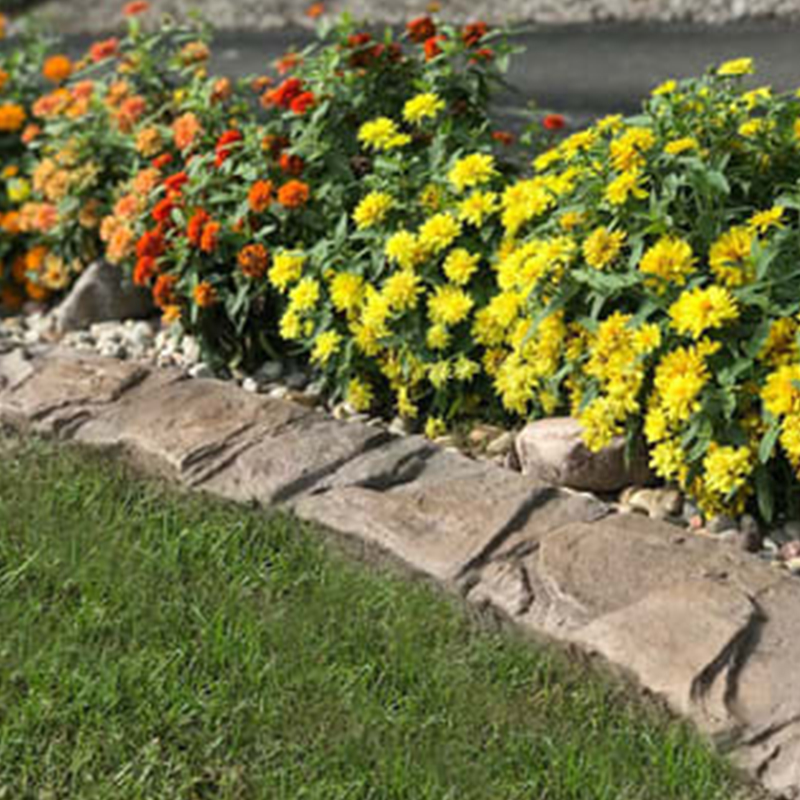
Earn More With Natural Stone.

Click to Register
Create beautiful curb with unique stamps.

Looking to sell your equipment?
Let us help.


Ready to Order Your New Curbing Trailer? Request More Info.
Give us a call at (920) 740-2218 or simply fill out the form below to learn more about getting all the tools and training to get started. We make the process easy to start earning money in landscape curbing.