Without a structured landscape curbing process, even experienced contractors can face installation failures, customer complaints, and project delays that damage their reputation. The difference between amateur and professional decorative curbing lies in following systematic procedures that address critical aspects of installation.
From initial planning through final curing, each step builds upon the previous one to create lasting, beautiful results. As industry pioneers with over 30 years of concrete curbing expertise, we’re revealing the comprehensive curbing installation process that has helped thousands of contractors achieve consistent, professional results.
The Complete 7-Step Landscape Curbing Process
These seven steps break down the method professionals use to ensure accuracy, durability, and customer-ready results on every project.
Step 1: Site Assessment and Design Planning
Begin every curbing project with a thorough site evaluation to identify potential challenges and design requirements. Walk through the installation area, noting drainage patterns, existing utilities, sprinkler systems, and landscape features that will impact your curbing layout. Document soil conditions, grade changes, and obstacles requiring special attention.
Create detailed measurements and sketches showing curb placement, radius locations, and connection points. Consider how your decorative curbing will complement existing hardscape elements. Proper planning prevents costly mistakes and ensures proper material estimates.
Step 2: Layout and Marking
Use spray paint or flags to mark the exact curb centerline, paying special attention to curves and directional changes. Mark all radius points, connection locations, and areas requiring special techniques.
Double-check measurements against your design plan and make necessary adjustments before proceeding. Verify that your curbing layout maintains proper drainage and doesn’t interfere with irrigation systems or utility lines.
Step 3: Site Preparation and Base Work
Excavate the marked curb line to the appropriate depth, typically 4 to 6 inches, depending on curb height and soil conditions. Remove all organic material, roots, and debris that could compromise curb stability.
Compact the subgrade thoroughly and install base material where required. Grade the excavation to ensure proper drainage away from the curbing installation area. In challenging climates like Wisconsin’s freeze-thaw cycles, proper base preparation is critical for preventing seasonal movement and cracking.
Step 4: Concrete Mix Preparation
Landscape curbing requires specialized concrete mixes designed for extrusion and durability. Mix ratios typically include higher cement content than standard concrete, with specific aggregate gradations that flow properly through curbing equipment while maintaining structural integrity.
Prepare mixes in small batches to ensure workability throughout installation. Monitor consistency carefully, as variations directly impact extrusion quality and the final appearance. Weather conditions also affect mix requirements, requiring adjustments for temperature, humidity, and wind during your curbing process.
Step 5: Machine Setup and Curb Extrusion
Position your curbing equipment at the starting point and verify that all machine settings match project specifications. Check concrete flow rates, machine height, and profile settings before beginning extrusion. Maintain a consistent forward speed and concrete flow to achieve uniform curb dimensions.
Navigate curves and direction changes smoothly, adjusting the machine as necessary while maintaining a continuous concrete flow. Monitor the mix consistency throughout extrusion and make adjustments to maintain quality. Proper machine operation techniques separate professional installations from amateur attempts.
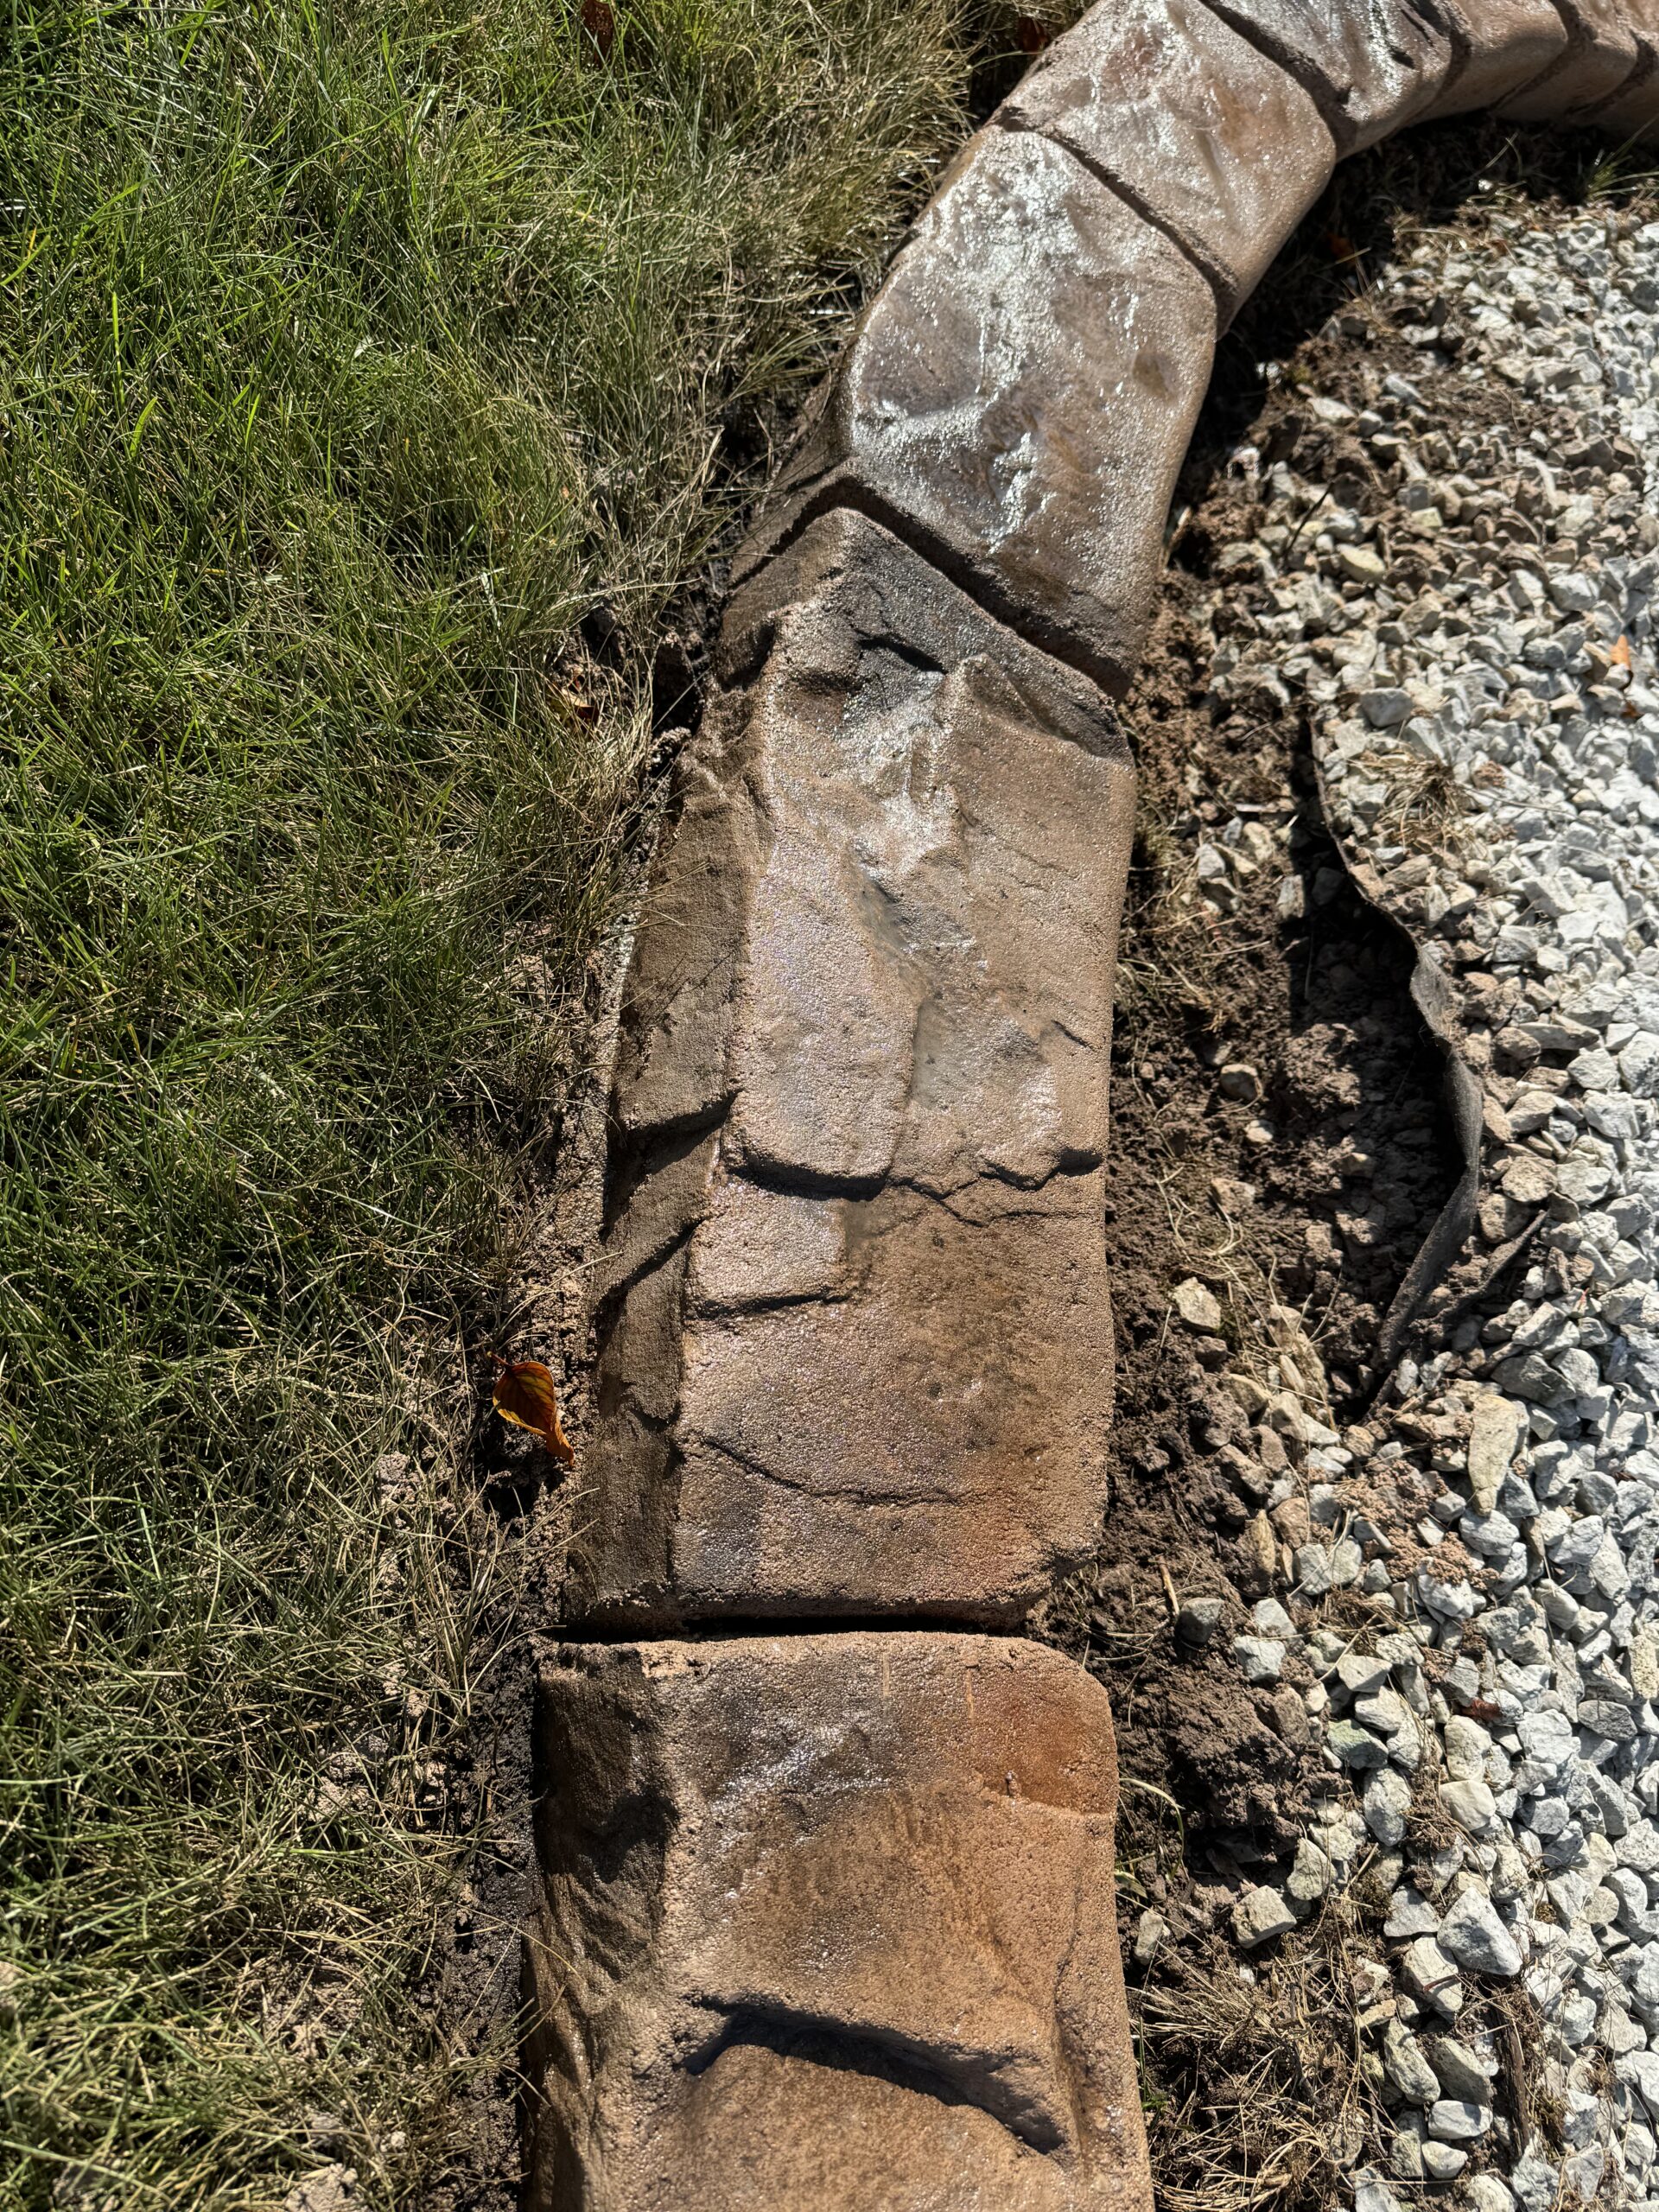
Step 6: Finishing and Texturing
Complete all finishing work while the concrete is still workable, usually within 15 to 30 minutes after extrusion, depending on the weather. Pay close attention to hand-tooling joints, connections, and detailed areas, as these spots require extra care. Apply any textures or stamps while the surface is still at the right consistency to take a clean impression.
Clean off any excess material from nearby surfaces and ensure all transitions and connection points are smooth. High-quality finishing makes a noticeable difference in the final look and customer satisfaction. This is the stage where attention to detail separates professional curbers from everyone else.
Step 7: Curing and Quality Inspection
Implement proper curing procedures immediately after finishing to ensure maximum concrete strength and durability. Apply curing compounds or coverings as appropriate for weather conditions. Protect fresh concrete curbing from traffic, weather damage, and premature loading.
Conduct thorough quality inspections once initial curing is complete, checking for proper dimensions, finish quality, and areas requiring touch-ups. Document the completed installation with photos and provide your customer with care instructions.
At Curb Depot, we’ve refined these techniques through decades of installation experience and continue training contractors in these proven methods across diverse climate conditions.
Master the Professional Curbing Process With Curb Depot
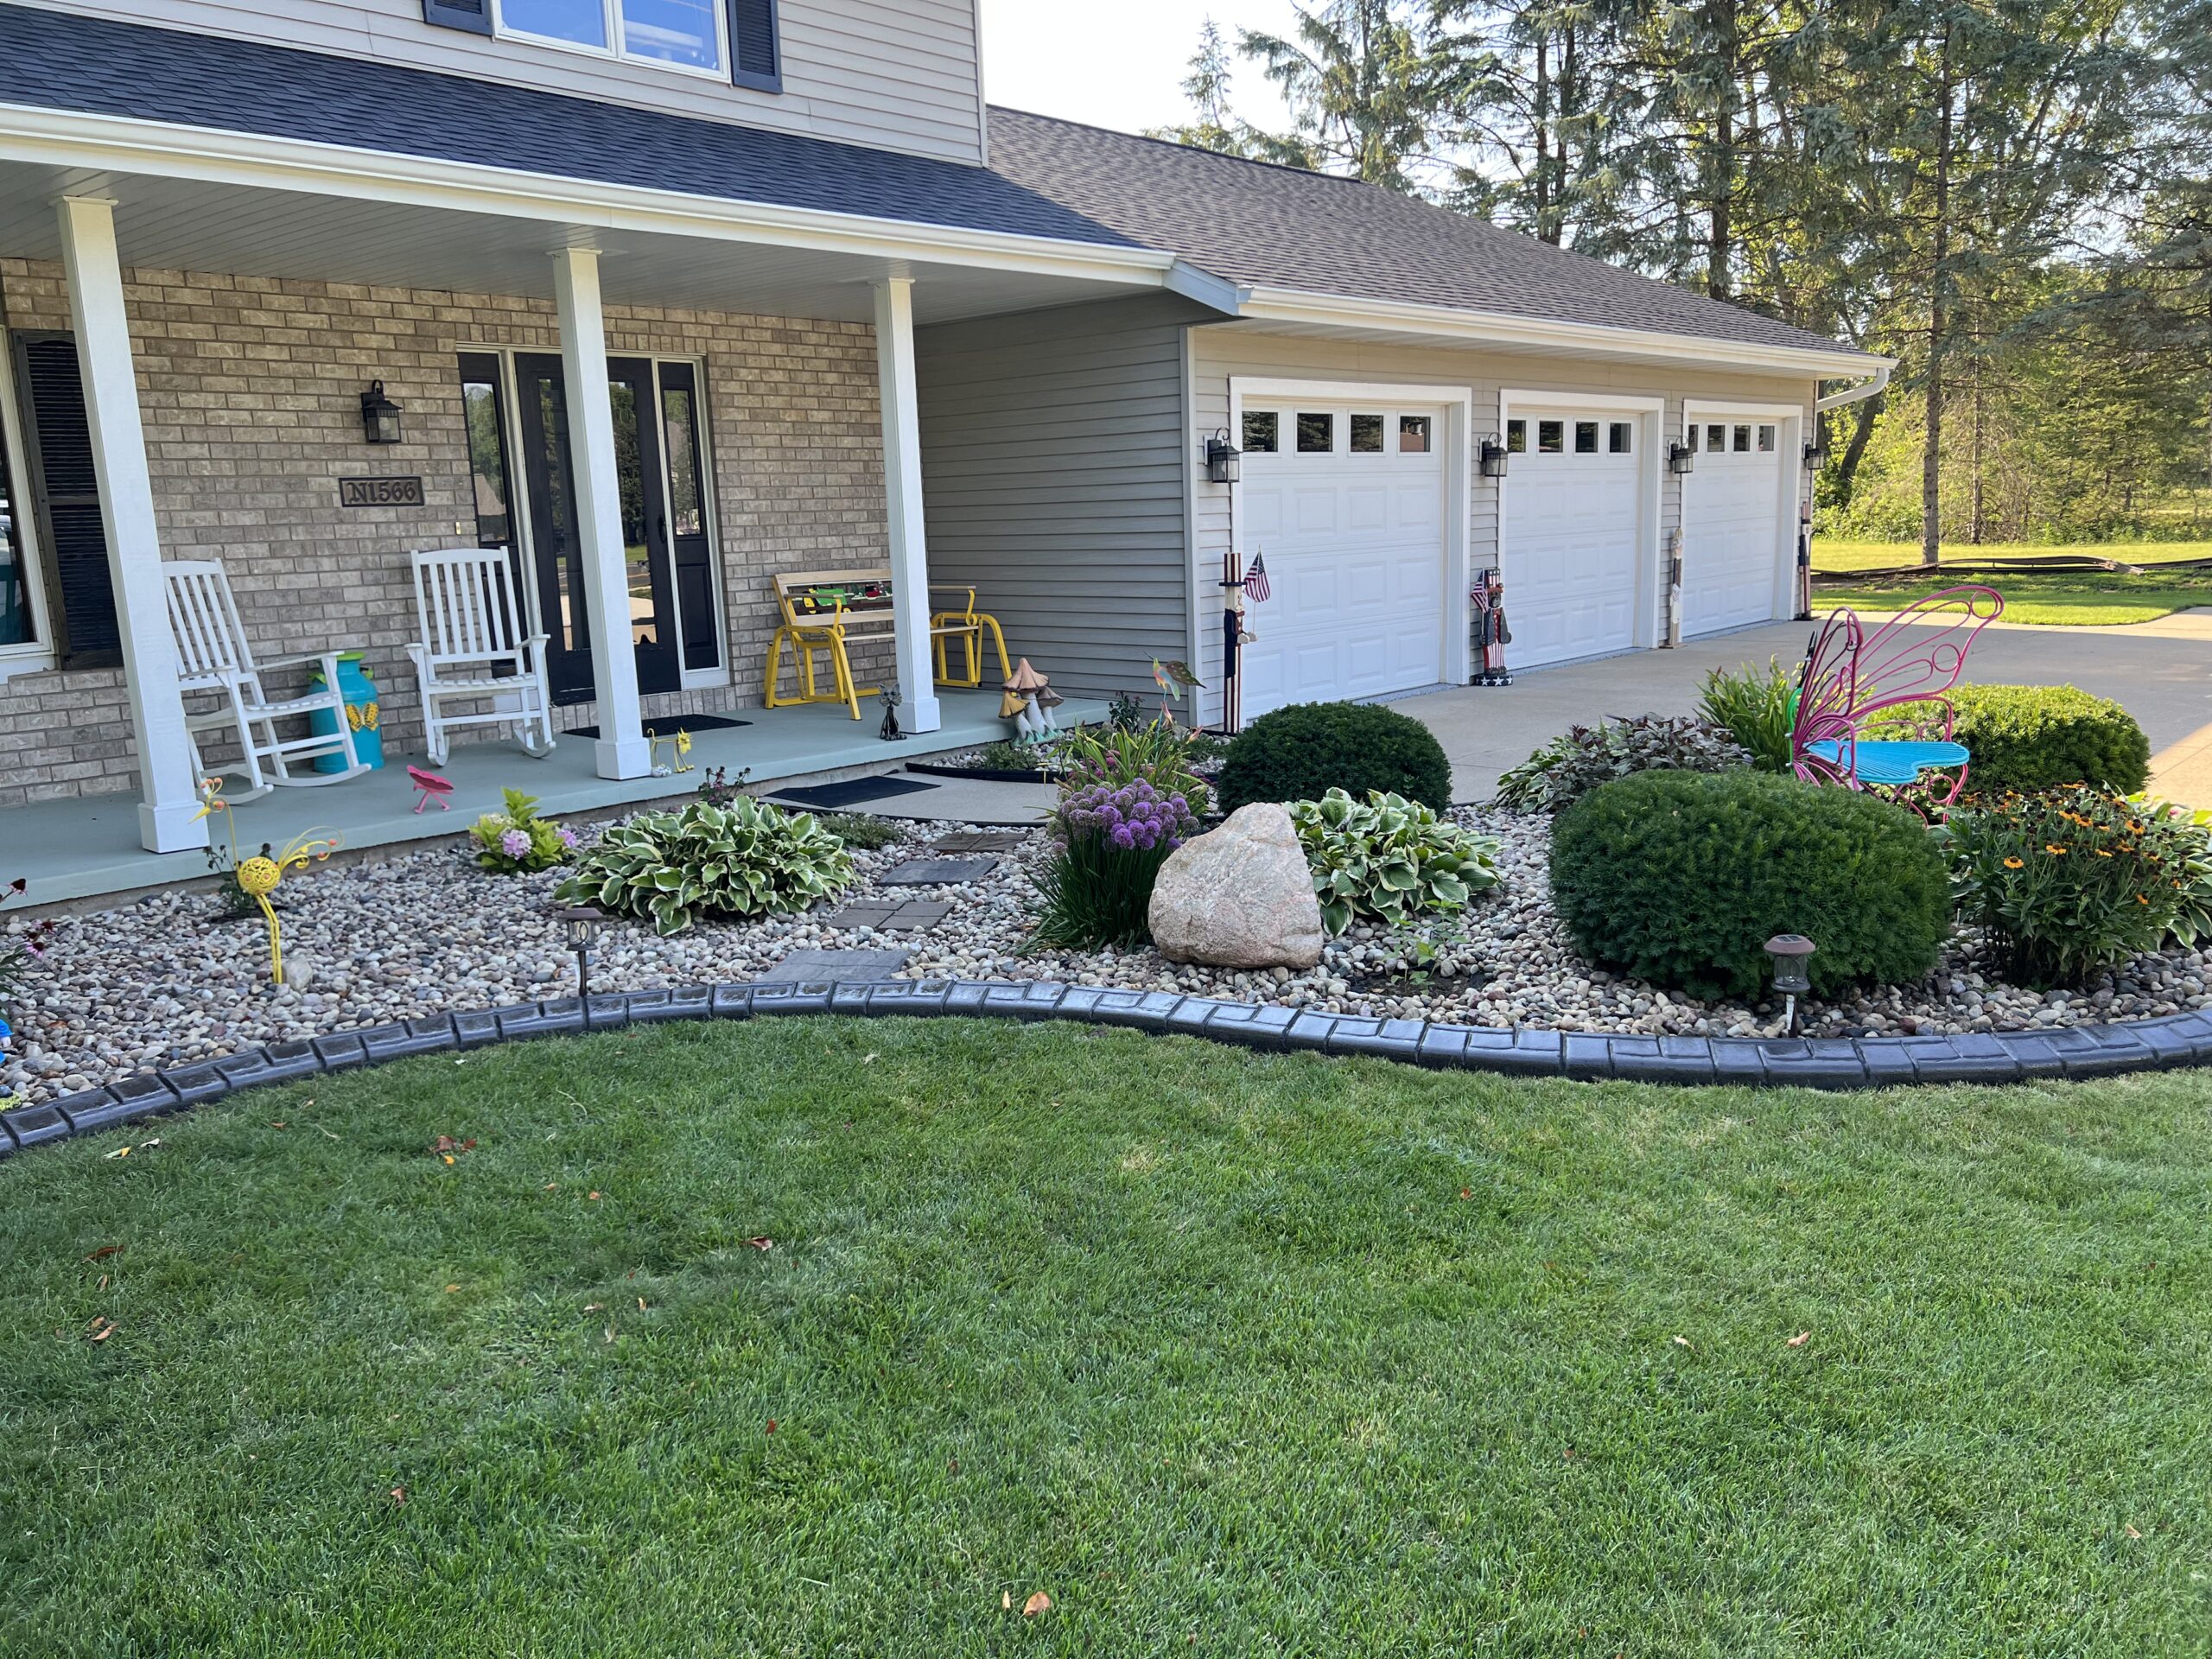
Following this proven 7-step landscape curbing process will elevate your installation quality and customer satisfaction while reducing project risks and callbacks. Consistent execution separates professional contractors from amateurs in the competitive decorative curbing market.
Ready to master these techniques and grow your curbing business? Contact Curb Depot today for comprehensive training and equipment solutions that support every step of the professional curbing installation process.
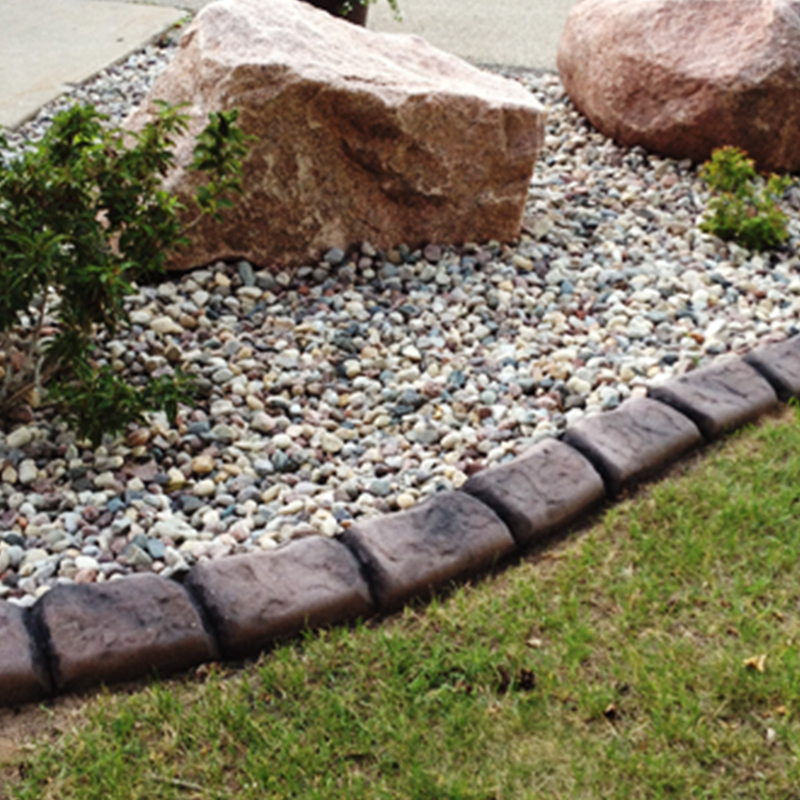
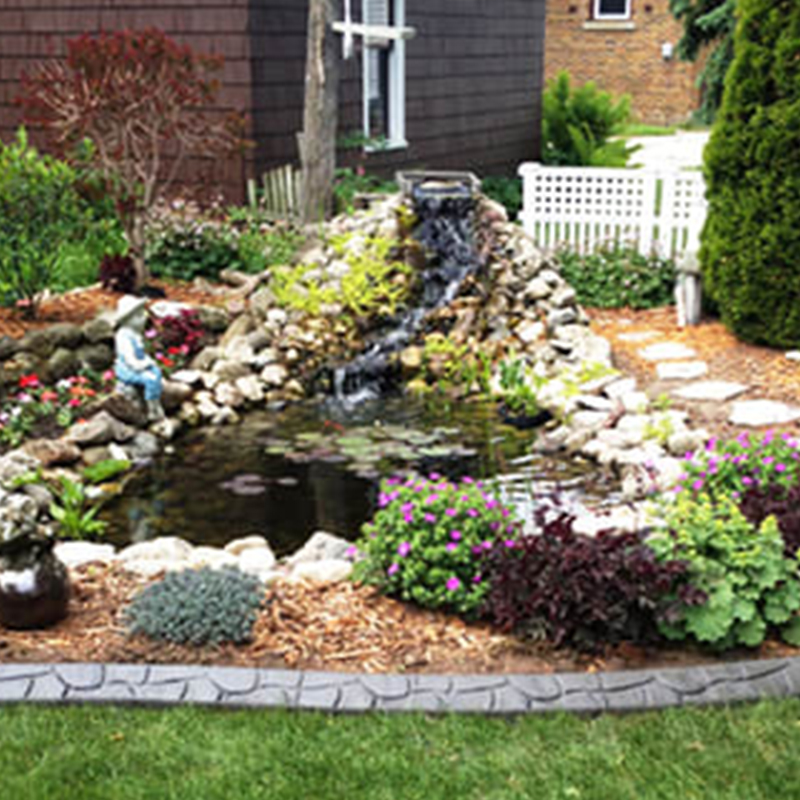
Earn More With Natural Stone.

Click to Register
Create beautiful curb with unique stamps.

Looking to sell your equipment?
Let us help.


Ready to Order Your New Curbing Trailer? Request More Info.
Give us a call at (920) 740-2218 or simply fill out the form below to learn more about getting all the tools and training to get started. We make the process easy to start earning money in landscape curbing.