Mastering your curbing machine is the first step toward a thriving business. Whether you’ve just invested in our state-of-the-art Harpten Curbing Machine or are looking to refine your technique, Curb Depot’s comprehensive guide will walk you through the process, ensuring you achieve flawless, professional results every time.
Phase 1: Preparation Is Key
A successful curbing job is 80% preparation. Rushing this phase is the most common mistake we see, and it leads to costly rework.
-
Clear and Grade the Area
First, the path where the curb will be laid must be free of all debris, rocks, and grass. We recommend using a shovel or a specialized ground prep tool to clear a trench that is slightly wider than your curb profile. The ground should be level and compacted to prevent future settling and cracking. -
Establish the Line and Grade
This is where precision matters. Use stakes and a string line to mark the exact path of the curb. This line will serve as your guide for the machine. For professional results, you must also establish the grade (the slope or elevation) of the curb. This ensures proper water drainage and a uniform appearance. -
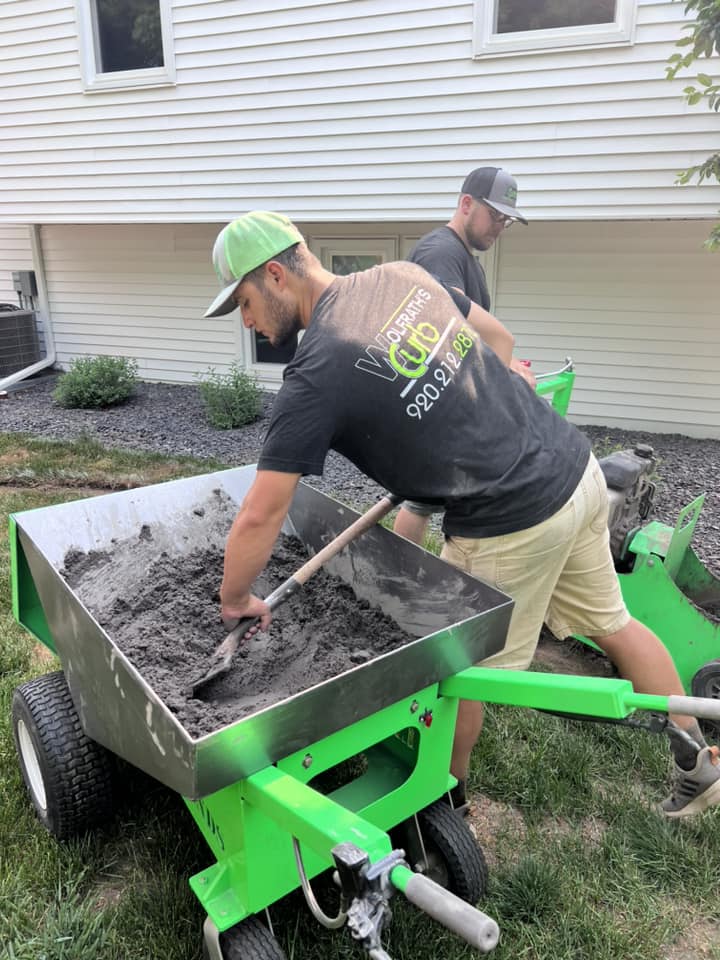
Mix the Concrete
The quality of your mix directly impacts the strength and finish of the curb. For curbing, we use a low-slump, zero-slump, or dry mix. The consistency should be like damp potting soil. It should hold its shape when squeezed but not be watery.
Phase 2: Setting Up the Curbing Machine
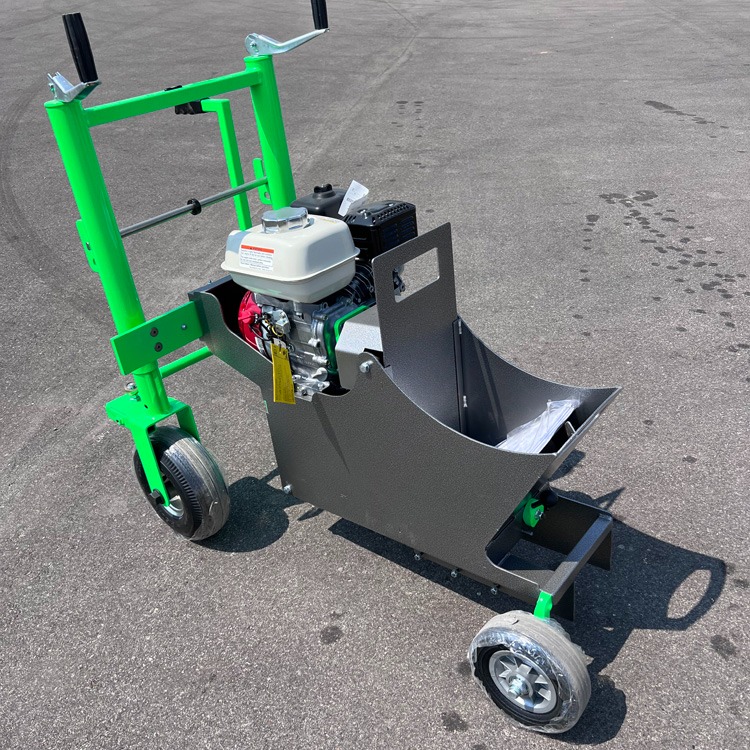
Your Harpten machine is designed for quick setup, minimizing downtime on the job site.
-
Attach the Mold (Profile)
Select the appropriate mold (or profile) for the job. Ensure the mold is securely fastened. This is what shapes the wet concrete as it is extruded from the machine. -
Check the Engine and Fuel
Before starting, check the oil and fuel levels of the engine. A well-maintained engine is essential for consistent power and smooth operation. -
Calibrate the Extrusion Height
Adjust the machine’s height so the bottom of the mold sits just above the prepared trench. This ensures the concrete is compacted tightly against the ground, creating a strong bond and a clean finish.
Phase 3: Extruding the Curb
This is the most satisfying part of the process: watching the curb come to life.
-
Start the Machine and Feed the Hopper
Start the engine. After it has warmed up, begin feeding the mixed concrete into the machine’s hopper. The auger inside the machine will compact the concrete and force it through the mold. -
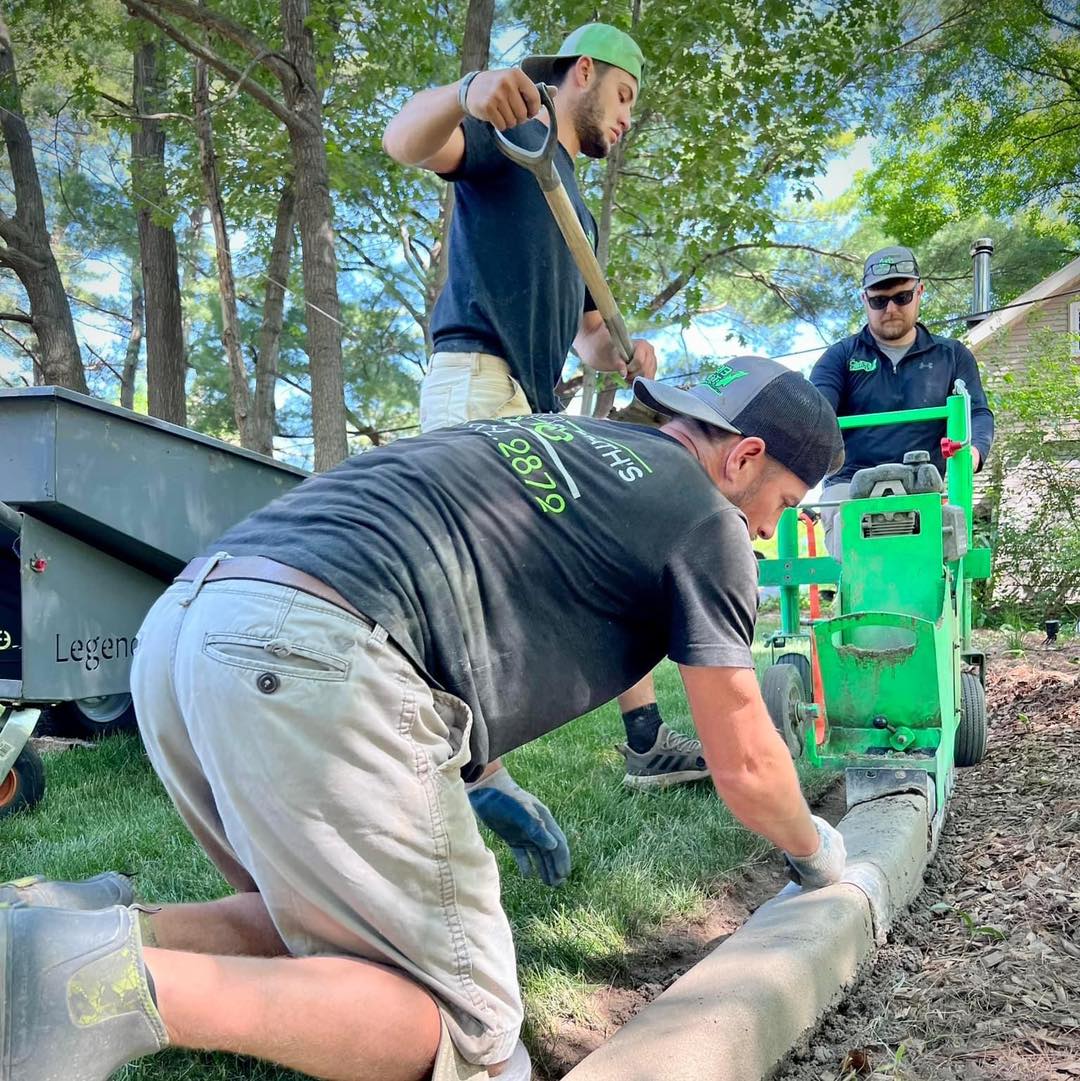
Guide the Machine
The machine will begin to move forward as the concrete is extruded. Guide it along the established string line, maintaining a slow, steady pace. Don’t try to push or pull the machine aggressively; let the extrusion process do the work. -
Continuous Feeding
Keep the hopper consistently full. Allowing the hopper to go empty will result in gaps or weak spots in the curb. This continuous flow is critical for a monolithic, durable curb.
Phase 4: Finishing and Curing
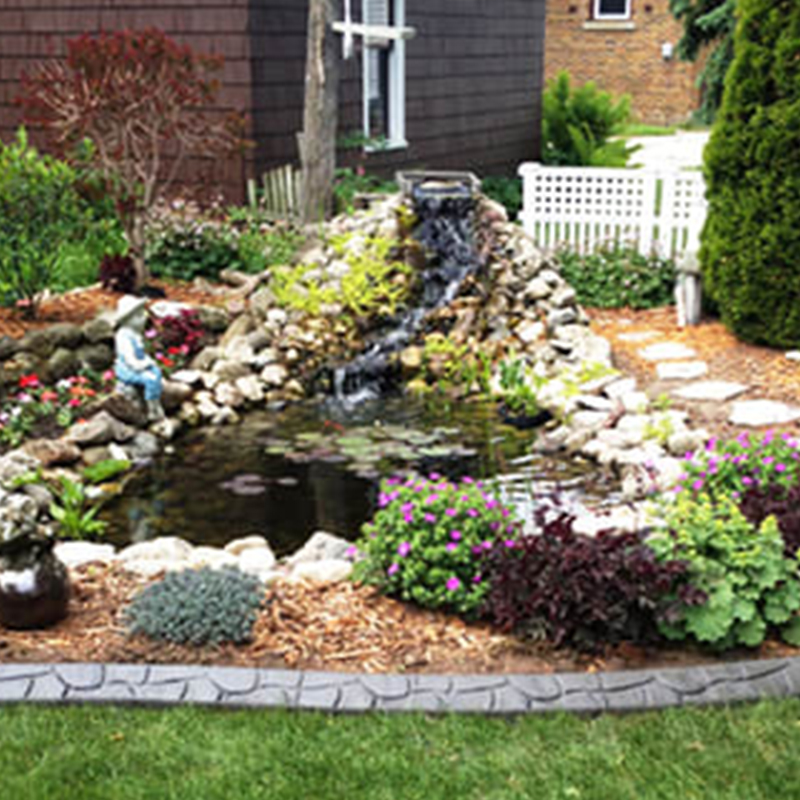
The final steps transform the raw concrete into a beautiful, finished product.
-
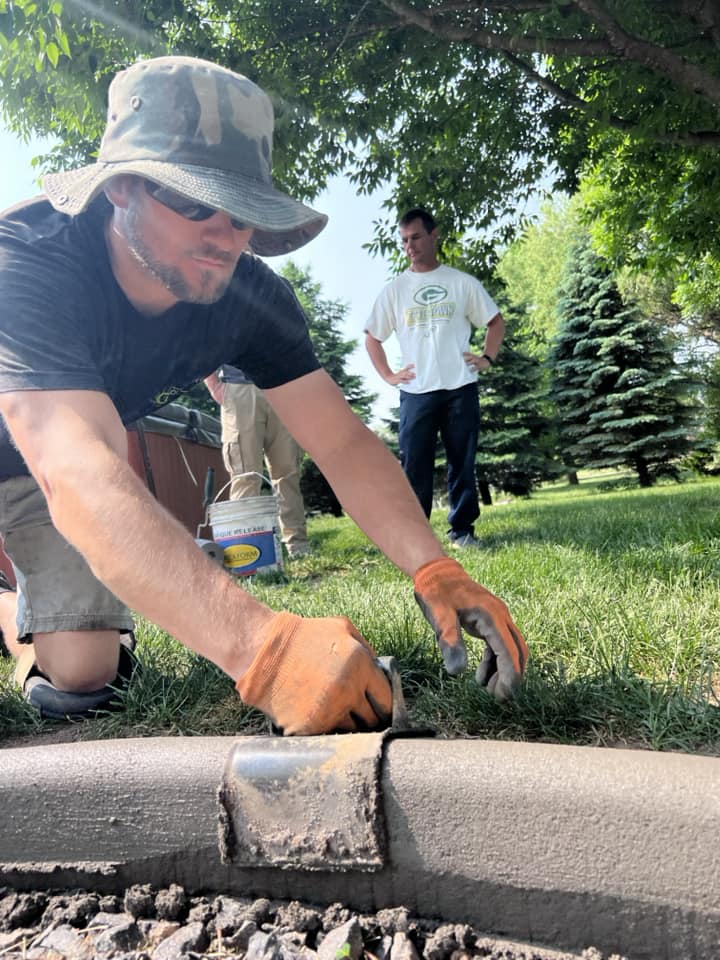
Trowel and Finish
Immediately after the curb is extruded, use a specialized concrete trowel to smooth the surface. This removes any imperfections left by the mold and prepares the surface for stamping or sealing. -
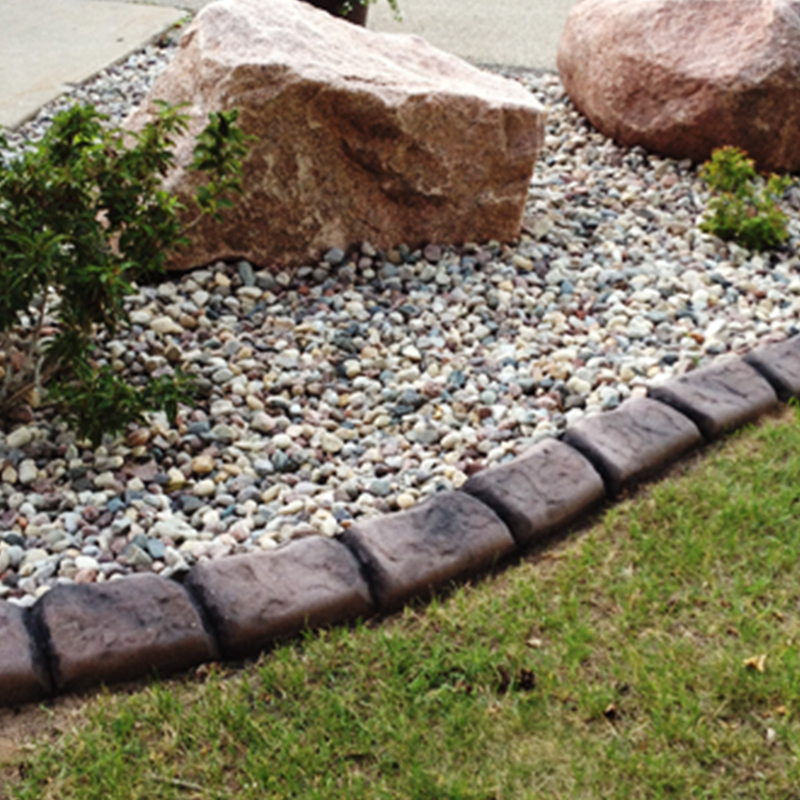
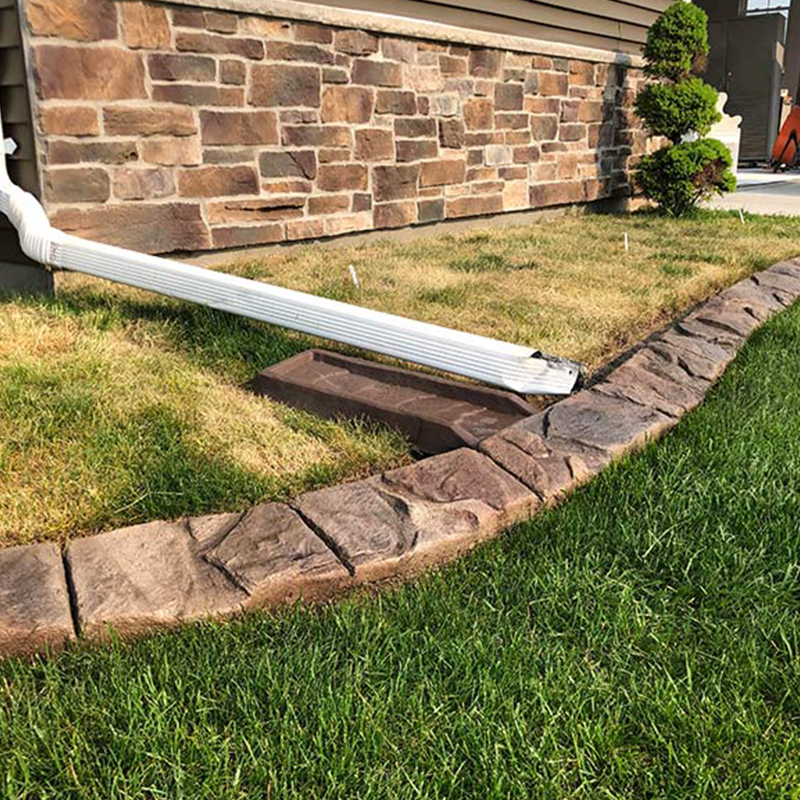
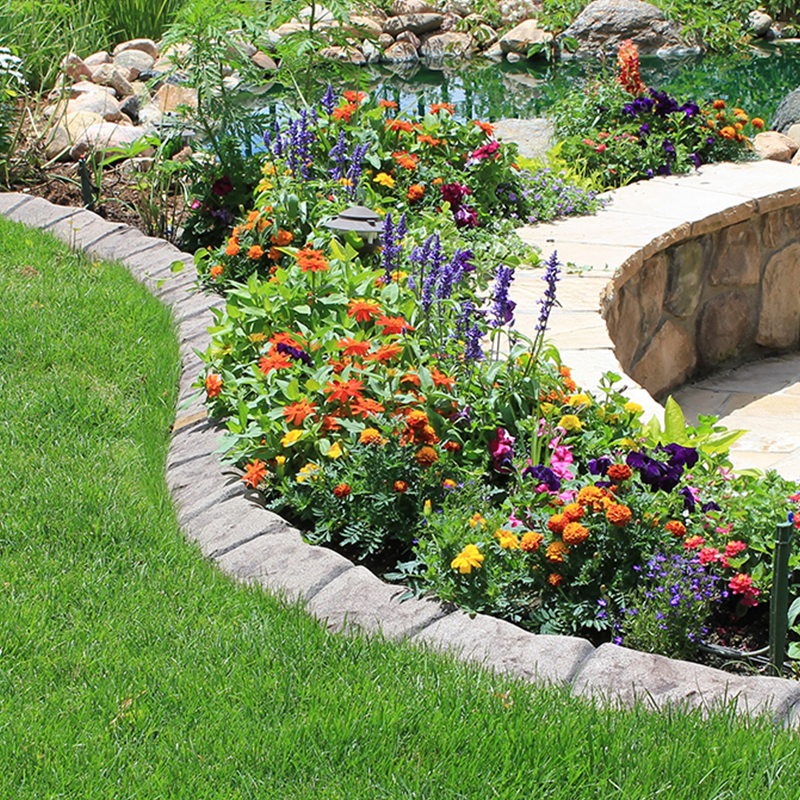
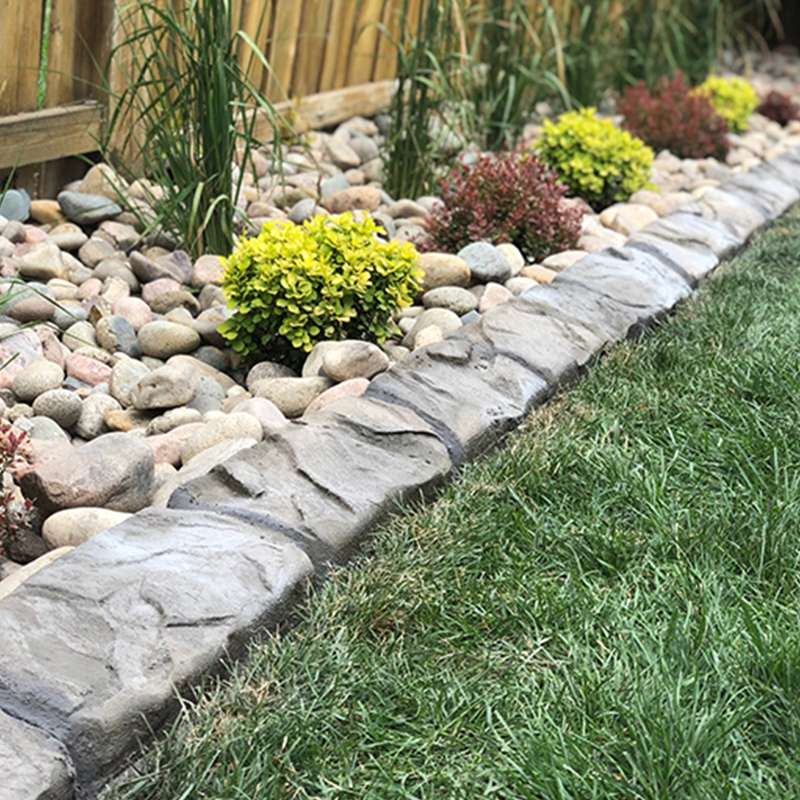
Apply Texture (Stamping)
If the client wants a decorative finish, this is the time to apply it. Use a concrete curbing stamp roller to press the pattern into the wet concrete. For inspiration, check out our guide on Curbing Stamp Patterns: Complete Guide to Decorative Concrete Textures. -
Cut Control Joints
Control joints are shallow cuts placed every 5 to 10 feet along the curb. These joints control where the concrete will crack as it cures and expands/contracts, ensuring the cracks occur neatly within the joint and not randomly across the surface. -
Curing and Sealing
Keep the concrete damp for the first 24 to 48 hours, and protect it from heavy rain. After the initial cure, we recommend applying a high-quality sealer. Sealing protects the curb from the elements, enhances the color, and extends its lifespan. Learn more about the process in our Landscape Curbing Process: From Planning to Installation in 7 Steps.
Ready To Start Your Profitable Curbing Business?
When you choose Curb Depot, you aren’t just buying a machine; you’re investing in a proven business model. Our Harpten machine, combined with our professional-grade mixers and our comprehensive training programs, gives you the competitive edge in the lucrative landscape curbing industry. Contact Curb Depot today to discuss equipment packages, financing options, and training programs for launching your curbing business.
Earn More With Natural Stone.

Click to Register
Create beautiful curb with unique stamps.

Looking to sell your equipment?
Let us help.


Ready to Order Your New Curbing Trailer? Request More Info.
Give us a call at (920) 740-2218 or simply fill out the form below to learn more about getting all the tools and training to get started. We make the process easy to start earning money in landscape curbing.