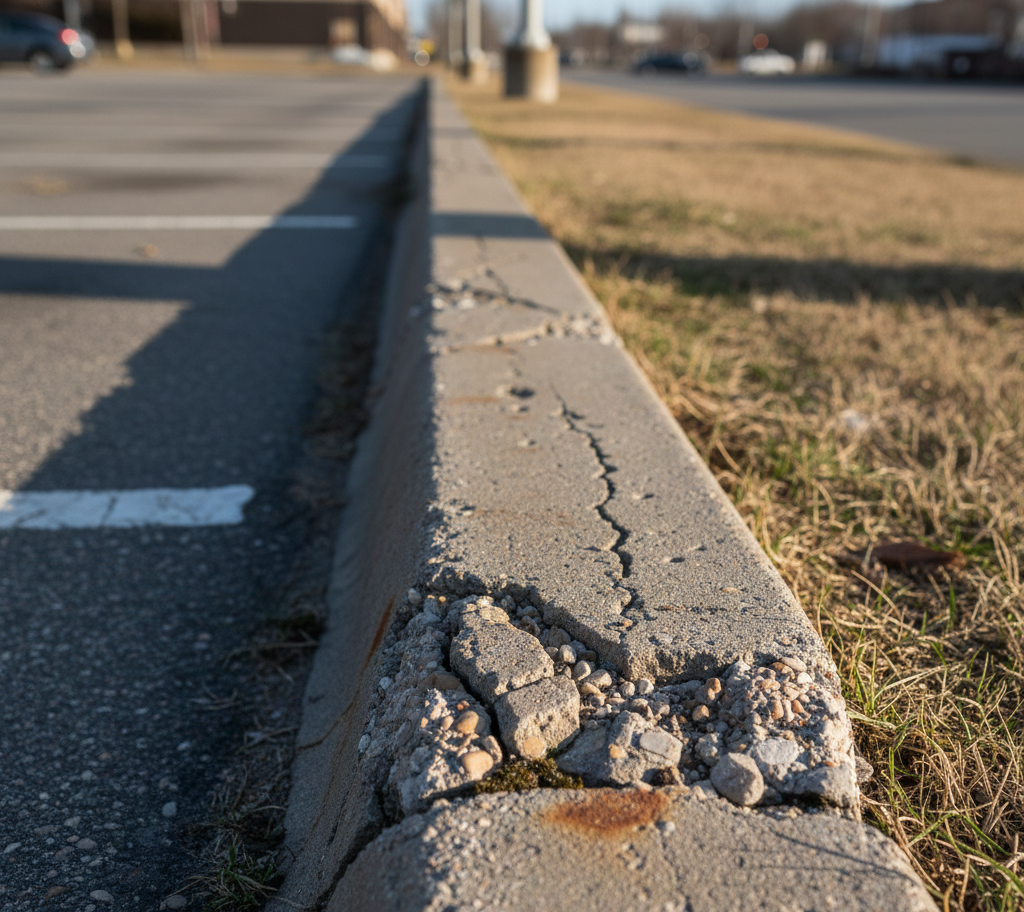
Removing concrete curbing may seem daunting, but with the right approach and tools, it can be managed efficiently and safely. Whether you’re updating your landscape design, repairing damaged sections, or preparing for a new installation, understanding the proper removal techniques is crucial.
While our passion lies in creating beautiful new curbing, Curb Depot also recognizes the importance of properly removing existing structures. This guide will walk you through the steps to remove concrete curbing effectively, allowing you to minimize effort while maximizing safety.
Why Remove Concrete Curbing?
There are several reasons why you might consider removing concrete curbing:
- Landscape Redesign: Your aesthetic preferences may change, or you may want to implement a new landscape layout that requires modifying or removing existing curbs.
- Damage or Deterioration: Over time, even the most durable concrete curbing can be damaged by ground movement, heavy impacts, or weather-related wear, necessitating removal and replacement.
- Upgrade to New Styles: With advances in curbing technology and design, you may want to upgrade to a more modern or functional curbing profile.
- Preparation for Other Projects: Sometimes, curbing needs to be removed to make way for new construction, patio installations, or other significant landscaping projects.
Essential Tools for Concrete Curbing Removal
Having the right tools makes the removal process significantly easier and safer.
- Sledgehammer: For breaking up concrete sections. Choose a weight that you can handle comfortably and safely.
- Pry Bar or Crowbar: Essential for lifting and prying apart broken concrete pieces.
- Shovel and Pickaxe: For digging around the curbing and loosening soil.
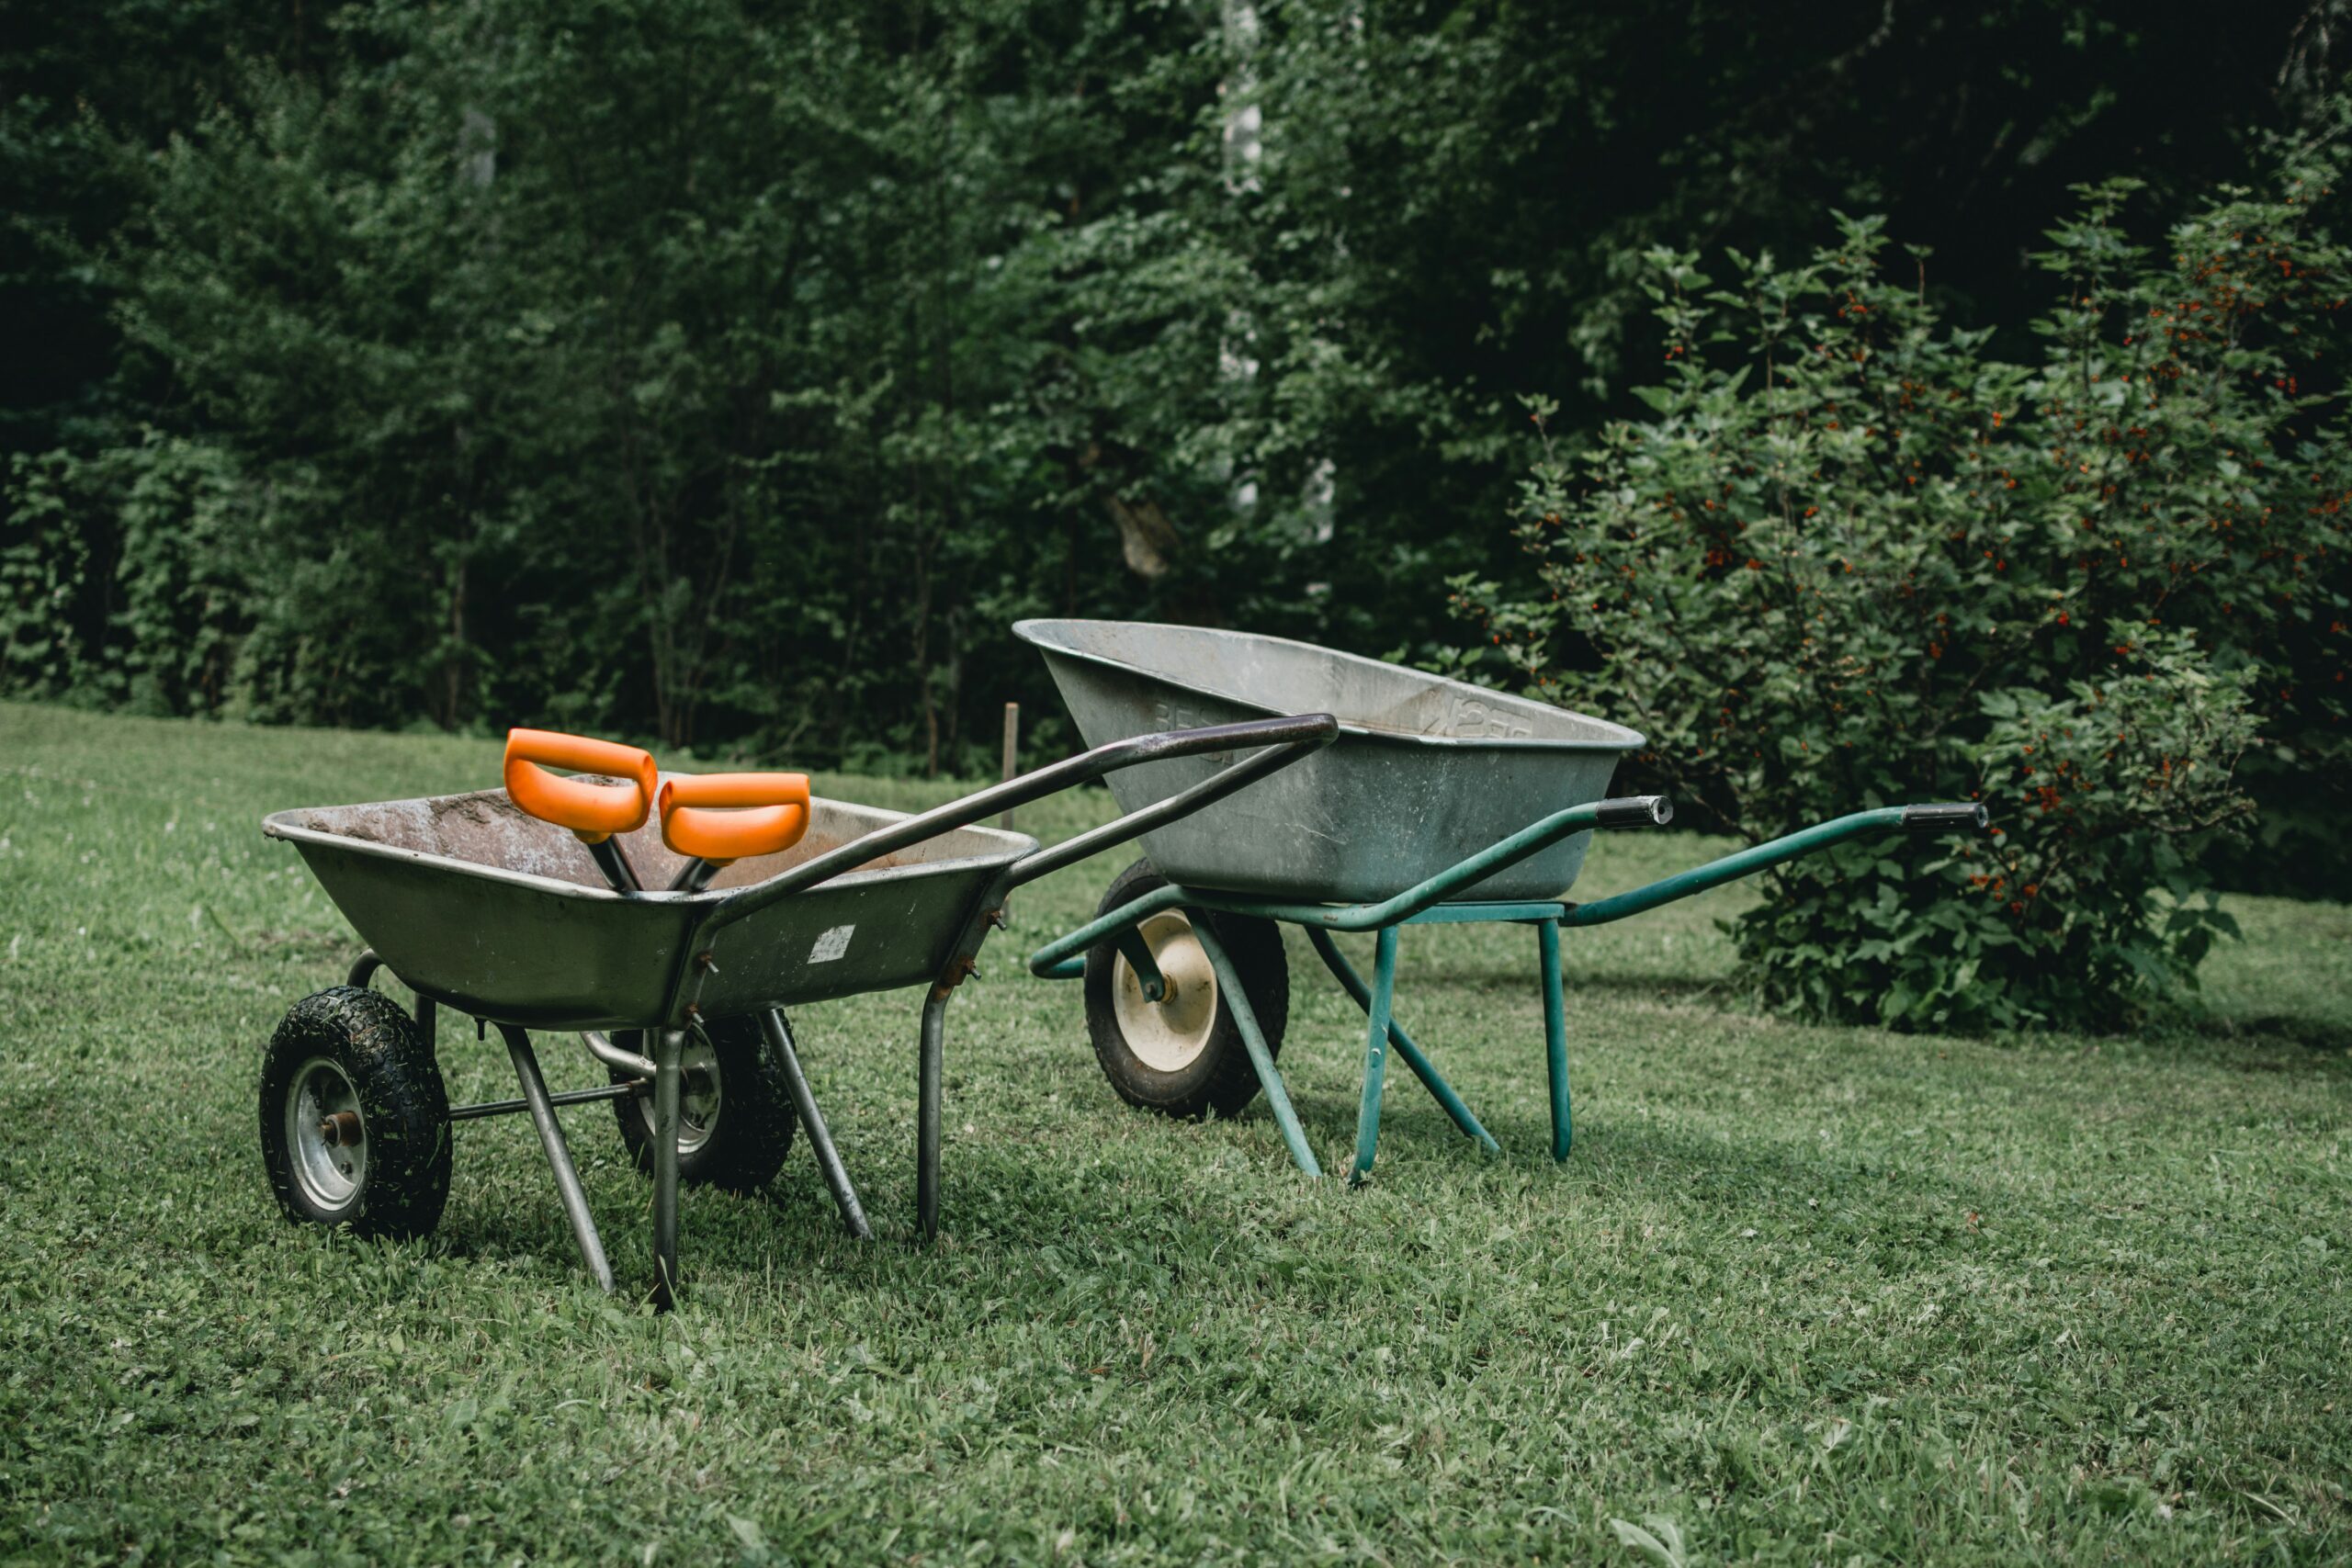
- Wheelbarrow: For transporting concrete debris.
- Safety Gear: Heavy-duty gloves, safety glasses, steel-toed boots, and hearing protection are non-negotiable.
- Concrete Saw (Optional): For precise cuts or if the curbing is particularly thick and difficult to break.
Please note: Concrete saws generate silica dust and should only be used with proper safety equipment. Additionally, some curbing may contain reinforcement that requires additional cutting.
Step-by-Step Guide To Concrete Curbing Removal
Step 1: Assess the Curbing and Plan Your Approach
Take a moment to assess the curbing you intend to remove. Gauge its thickness, length, and proximity to any delicate landscape features, utility lines, or structures. Identify any areas that might be particularly challenging.
Planning your removal in sections can make the task more manageable. If the curbing is near any underground utilities, contact your local utility companies to mark their lines before digging or breaking any concrete.
Step 2: Clear the Area
Remove any plants, mulch, or decorative elements immediately surrounding the curbing. This provides a clear working space and prevents damage to your landscape.
Dig a small trench along both sides of the curbing to expose its base. This will make it easier to pry and lift the concrete sections.
Step 3: Break Up the Concrete
Using a sledgehammer, begin striking the concrete curbing. Start at one end or at a point where the curbing might already have a crack. Aim for consistent, forceful blows.
The goal is to break the curbing into smaller, manageable pieces where possible, especially if the curbing is not reinforced. For very thick or reinforced curbing, you might need to make relief cuts with a concrete saw first to weaken the structure before using the sledgehammer.
Always strike away from your body and be mindful of flying debris.
Step 4: Pry and Remove Sections
Once the concrete is broken into smaller pieces, use your pry bar or crowbar to lift them out of the ground. Work systematically, prying each piece until it comes loose.
Be careful not to strain your back. Lift with your legs, not your back. If pieces are still too large, break them down further with the sledgehammer. Place the removed concrete debris into a wheelbarrow for easy transport.
Step 5: Clear the Debris and Prepare the Site
Clear the area of any remaining debris, small concrete fragments, and loose soil. Use a rake to level the ground.
This step is crucial if you plan to install new curbing or undertake another landscaping project in the same area.
Step 6: Dispose of Concrete Debris
Concrete debris cannot typically be disposed of with regular household waste. You’ll need to arrange for proper disposal.
Options include taking it to a local landfill, a concrete recycling facility, or hiring a waste removal service that handles construction debris. Check with your local regulations for specific disposal requirements.
Start Fresh With Our Quality Curbing Equipment
While removing concrete curbing is demanding, it’s a manageable task with a systematic approach and the right tools. Remember, proper preparation and safety are key to a successful outcome.
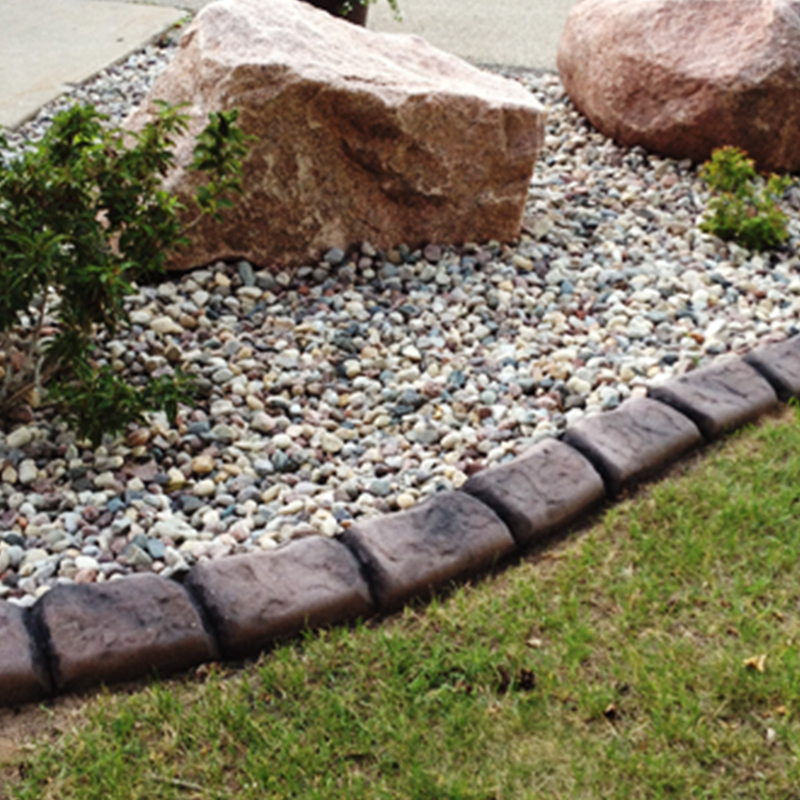
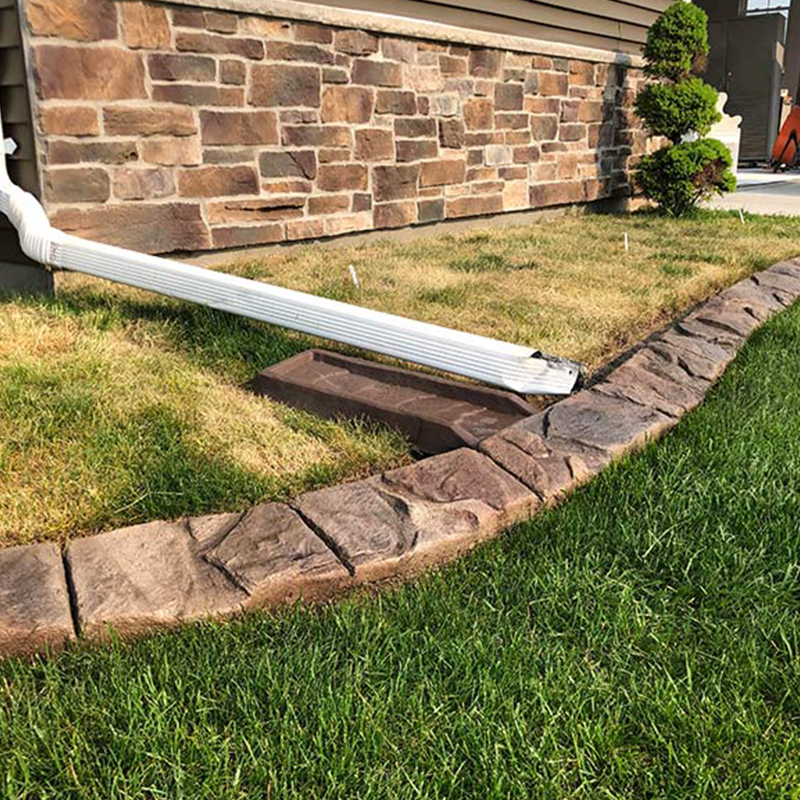
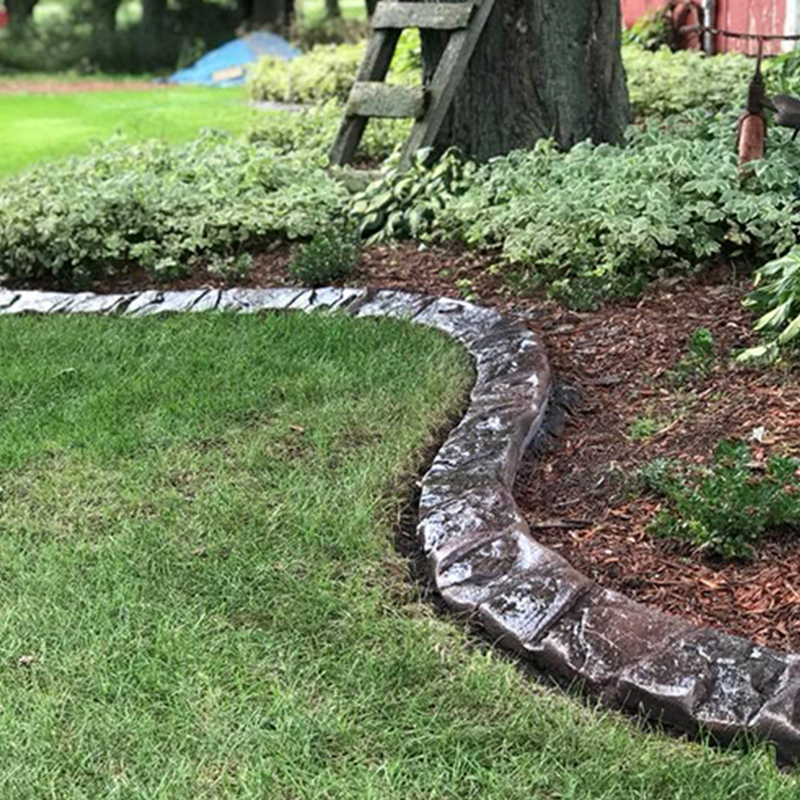
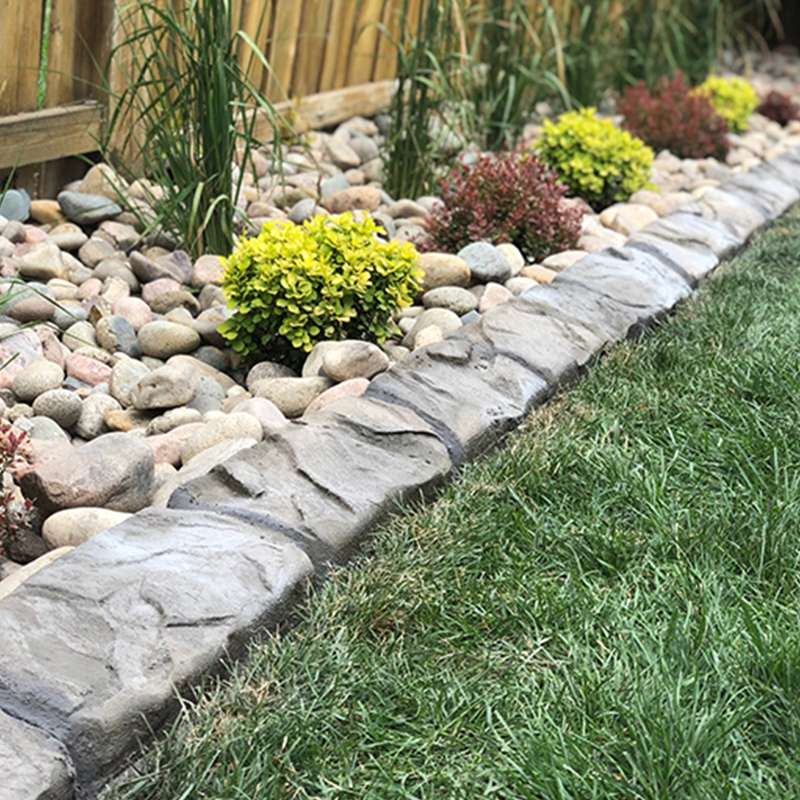
Once your old curbing is gone, consider Curb Depot’s innovative curbing solutions, like the Harpten Curbing Machine and a variety of profiles, to create a fresh, durable, and beautiful new edge for your landscape.
Earn More With Natural Stone.

Click to Register
Create beautiful curb with unique stamps.

Looking to sell your equipment?
Let us help.


Ready to Order Your New Curbing Trailer? Request More Info.
Give us a call at (920) 740-2218 or simply fill out the form below to learn more about getting all the tools and training to get started. We make the process easy to start earning money in landscape curbing.