Mulch migrating onto your lawn. Grass creeping into flower beds. Garden edges that look more like suggestions than actual boundaries. If this sounds familiar, you’re probably ready to install some edging—and if you’re browsing the garden center aisles wondering where to start, plastic edging offers the most forgiving entry point into landscape definition.
As a company that equips professional curbing contractors nationwide with concrete installation equipment, Curb Depot knows that not every homeowner needs (or wants) a permanent concrete solution. Sometimes, a well-installed plastic border does exactly what you need at a fraction of the cost and effort.
This guide walks you through proper installation techniques to ensure lasting edging, not disappointing results.
How To Install Plastic Garden Edging in 4 Steps
Follow these professional installation techniques to ensure your plastic garden edging stays in place and performs well for years.
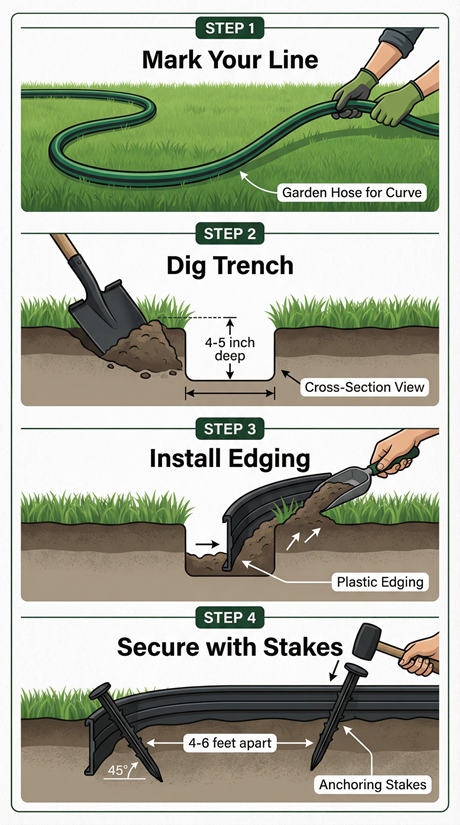
1. Prepare for Installation
Before you begin, proper preparation is key to a successful plastic edging installation. First, lay out your edging in the sun for an hour or two. This helps soften the material, making plastic garden edging more flexible and easier to shape, especially when creating curves.
Next, use a garden hose or rope to mark the line where you want to install the edging. This provides a clear visual guide and helps ensure smooth, even lines.
Finally, use a spade or trenching tool to dig a shallow trench, about 4–5 inches deep, along your marked line. This trench allows the edging to sit securely below grade while remaining properly anchored.
2. Install Plastic Edging in Your Garden
With your trench prepared, you can now begin installing the plastic garden edging. Place the edging into the trench, making sure the top of the edging is at the desired height. Most manufacturers recommend leaving about half an inch of the edging visible above ground level to maintain separation between lawn and garden beds.
As you go, backfill the trench with the soil you removed, tamping it down firmly to stabilize the edging. If you need to connect two pieces of edging, use the provided connectors and ensure they’re fully seated and secure.
3. Secure the Edging With Stakes
To help plastic landscape edging maintain its position over time, it’s essential to secure it with stakes. Most plastic edging kits include stakes, though they can also be purchased separately.
Drive the stakes into the ground on the inside of the edging approximately every 4–6 feet. For curved sections, place stakes closer together to maintain a consistent shape and alignment. Stakes should be driven in at a slight angle away from the edging, a common installation practice that improves long-term stability.
4. Make the Finishing Touches
Once your edging is installed and secured, complete the project with a few finishing touches. Rake the soil on both sides of the edging to create a smooth, level transition. You can now add mulch, gravel, or other ground cover to your garden beds.
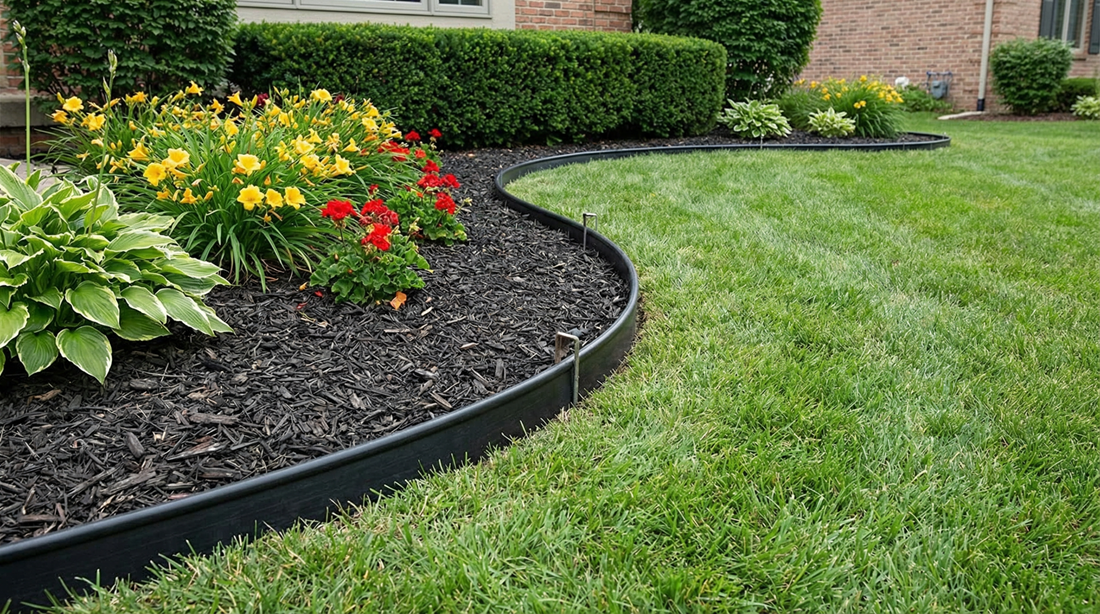
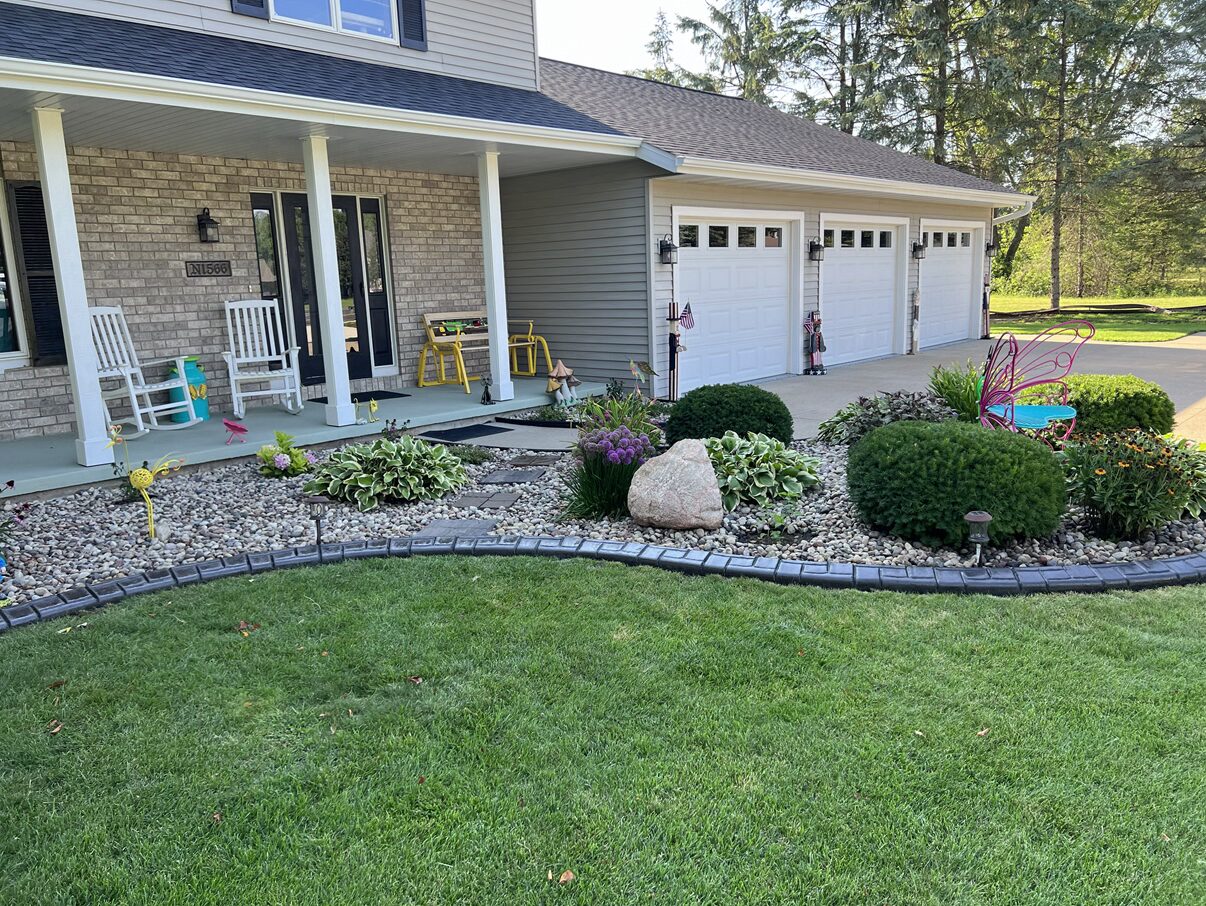
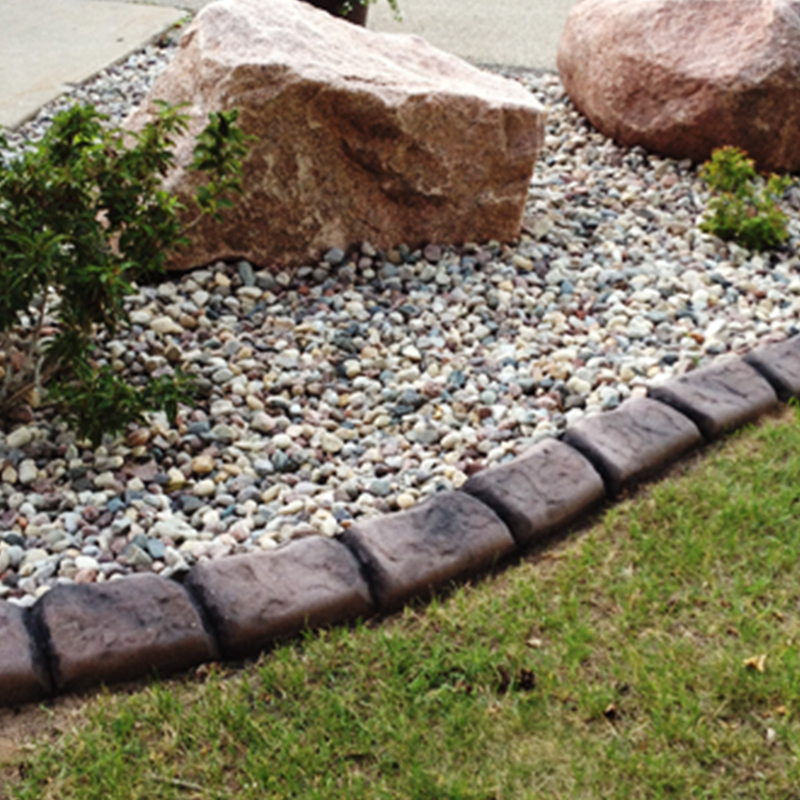
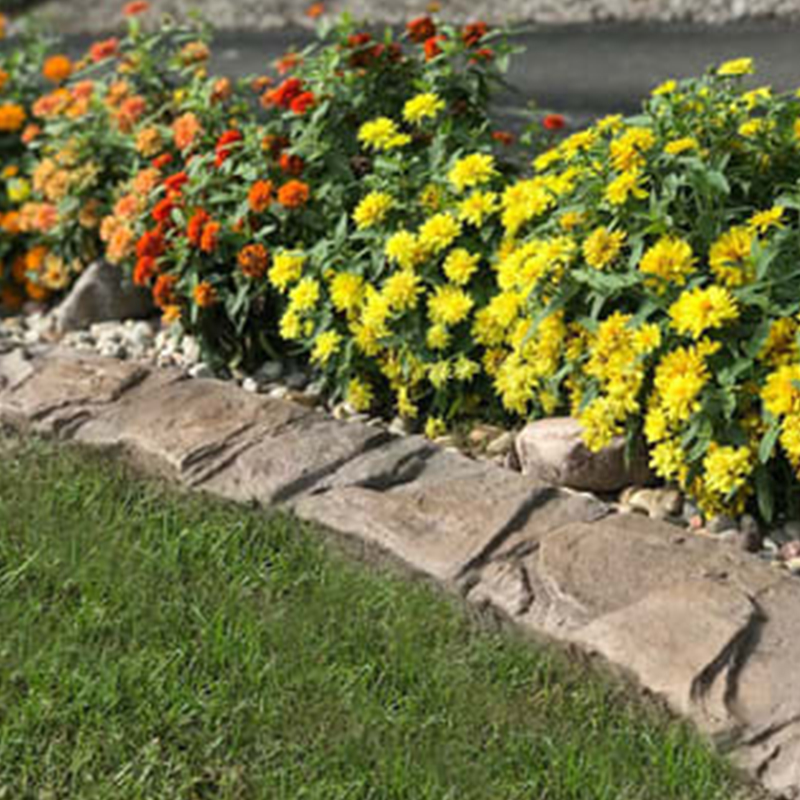
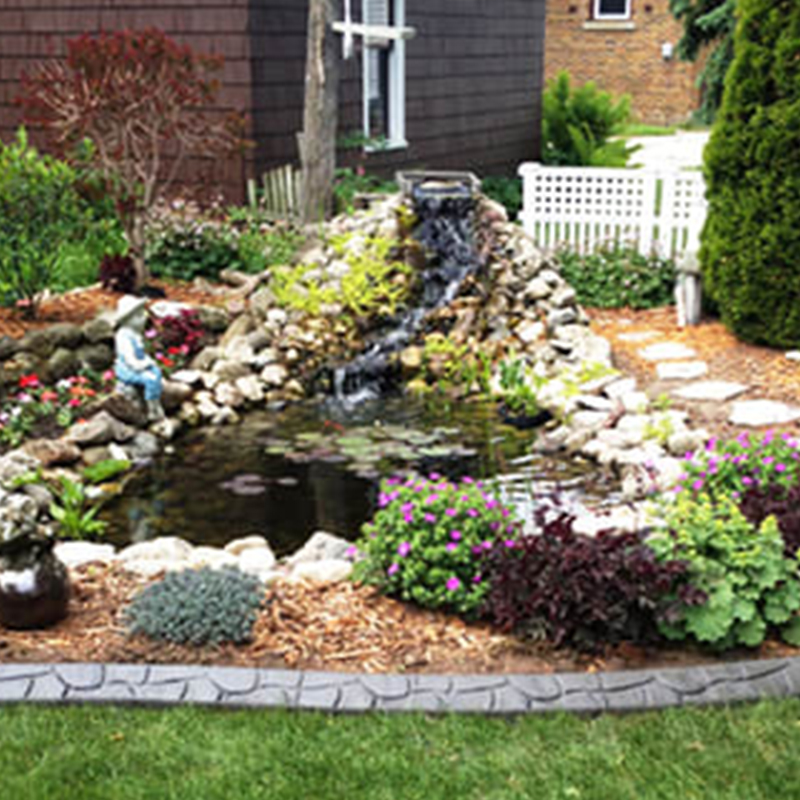
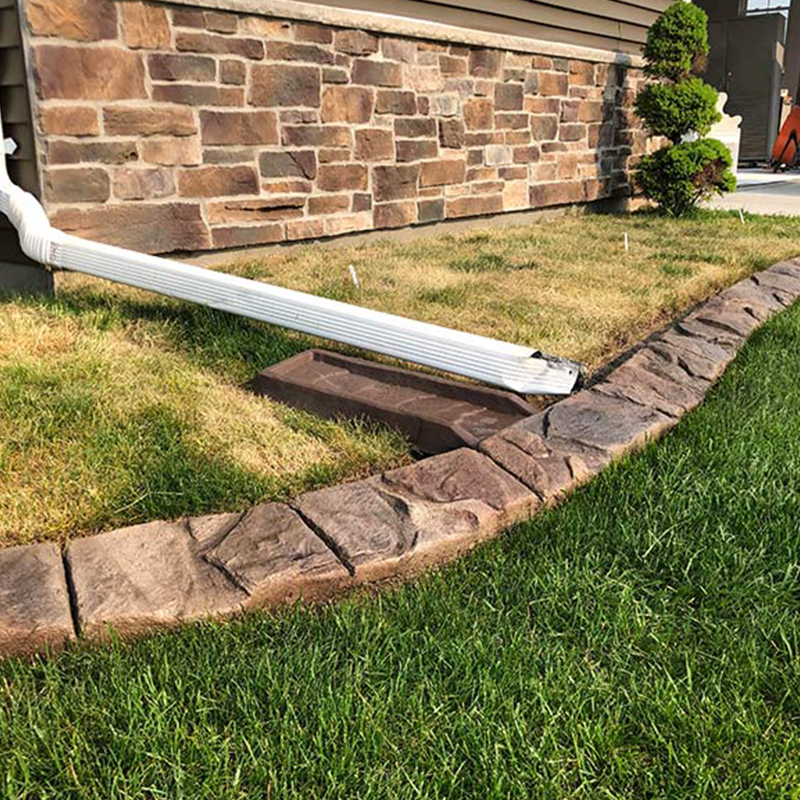
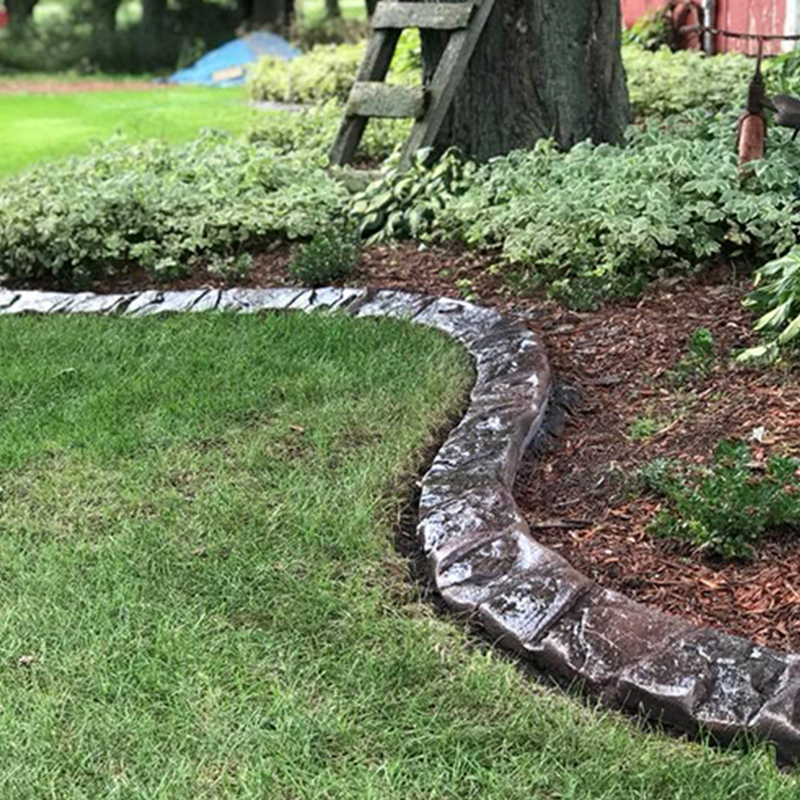
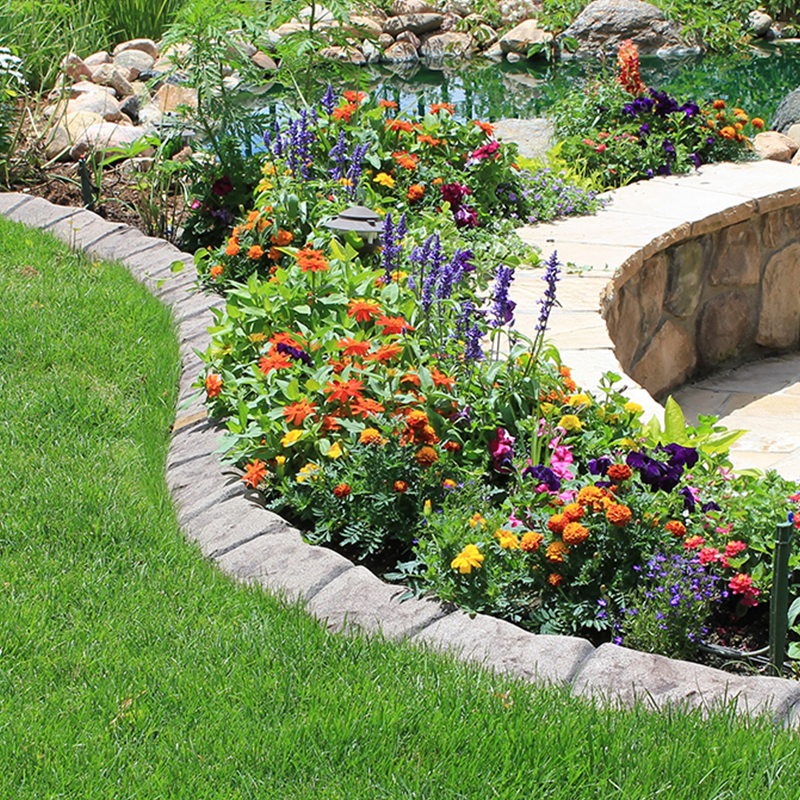
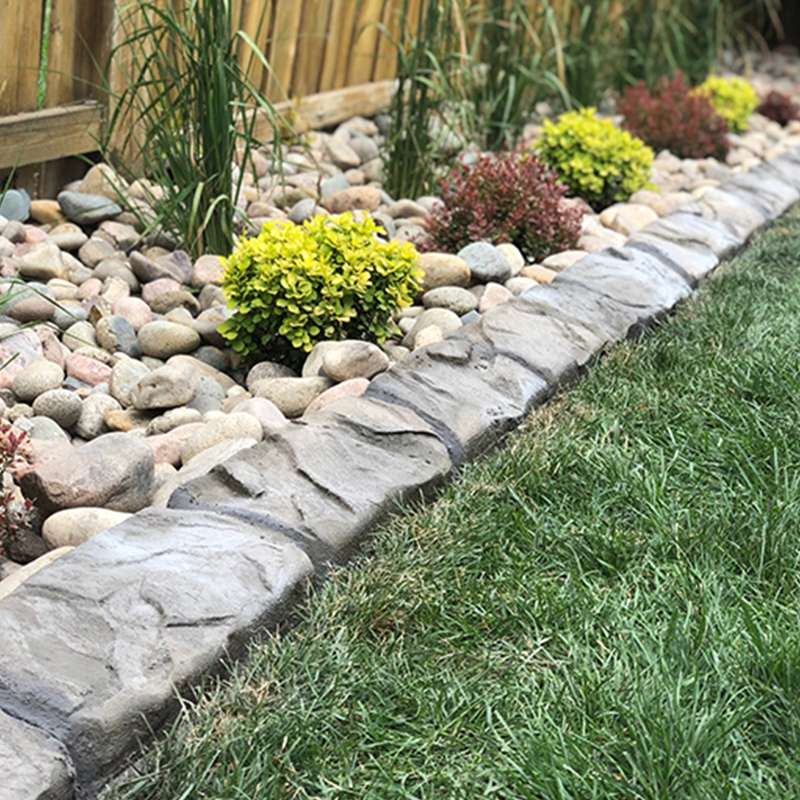
Properly installed plastic garden edging helps contain materials, reduce lawn encroachment, and create a clean visual border. For homeowners planning a full landscape upgrade, decorative concrete curbing can be used around the property’s perimeter for added durability and visual impact.
At Curb Depot, we support landscape professionals with curbing machines and tools designed for long-term performance.
Frequently Asked Questions About Plastic Garden Edging
How deep should plastic garden edging be installed?
Plastic garden edging is typically installed in a trench about 4–5 inches deep, with roughly ½ inch visible above ground for proper separation.
How long does plastic landscape edging last?
When installed correctly, high-quality plastic landscape edging can last several years, though its lifespan varies based on climate, soil movement, and maintenance.
Do I need stakes for plastic garden edging?
Yes. Stakes are essential to keep plastic edging in place, especially in curved sections or areas with loose soil.
Can plastic garden edging handle curves?
Yes. Plastic garden edging is flexible and well-suited for curved garden beds, especially when warmed in the sun before installation.
Is plastic garden edging better than concrete or brick?
Plastic edging is more affordable and DIY-friendly, while concrete and brick edging offer greater durability and a more permanent, high-end appearance.
Curb Depot: Move Beyond Temporary Solutions
Installing plastic garden edging is a straightforward DIY landscaping project and often a practical first step before considering more permanent options like brick or concrete edging as part of a larger landscape design.
With proper preparation and correct installation techniques, plastic edging can provide clean, defined garden beds that perform well for years. When you’re ready to move beyond DIY solutions, Curb Depot is here to help with professional concrete curbing equipment and training programs that support high-quality landscape installations.
Contact us today to learn more about our equipment and training programs.
Earn More With Natural Stone.

Click to Register
Create beautiful curb with unique stamps.

Looking to sell your equipment?
Let us help.


Ready to Order Your New Curbing Trailer? Request More Info.
Give us a call at (920) 740-2218 or simply fill out the form below to learn more about getting all the tools and training to get started. We make the process easy to start earning money in landscape curbing.